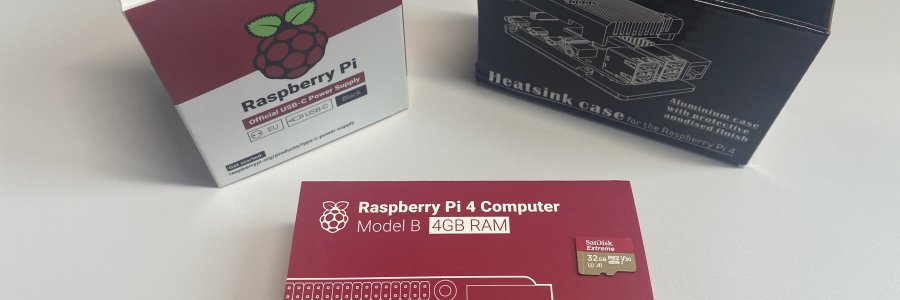
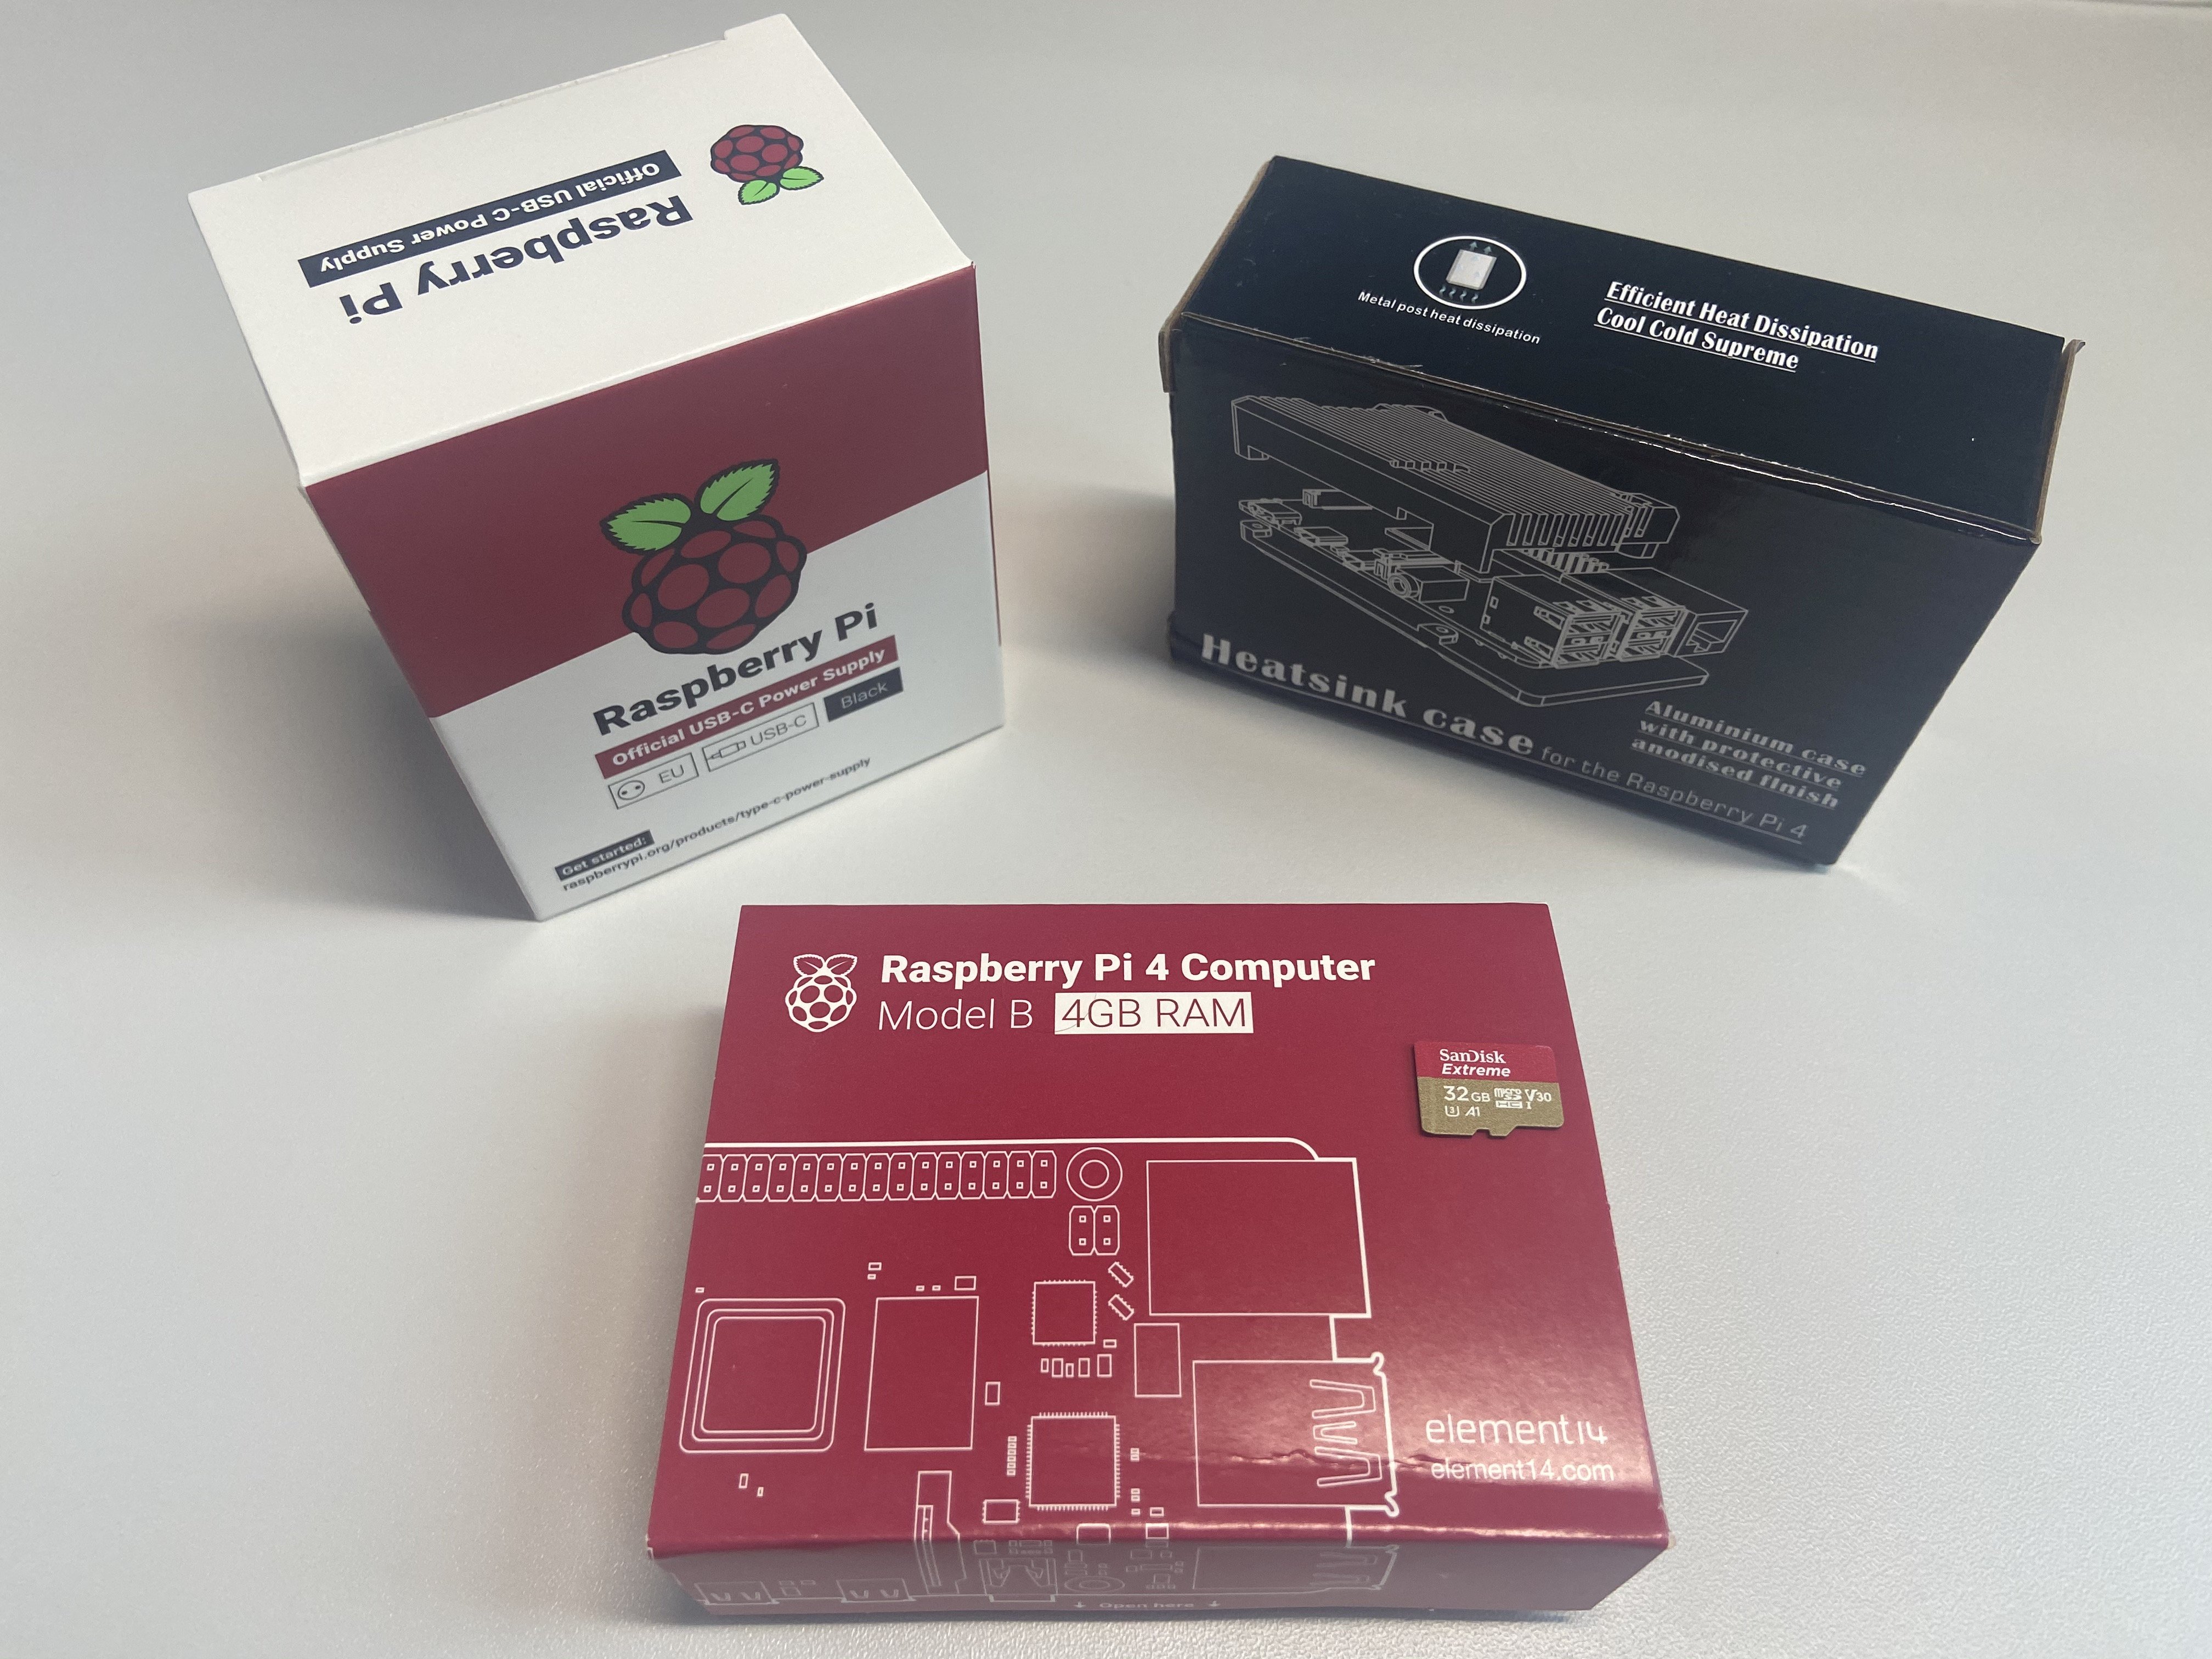
- Raspberry Pi 4 Model B is a compact single-board computer based on a 4-core Broadcom BCM2711 processor, Cortex-A72 @ 1.5 GHz with 4GB of RAM (there are also versions with 1GB, 2GB and 8GB). The developers added such popular interfaces as USB 3.0, Gigabit Ethernet, Bluetooth 5.0, micro HDMI to the Raspberry Pi 4 and implemented support for 4K video. There is also a new USB Type-C power connector instead of the old micro USB connector.
- Instead of a full-sized HDMI connector, the Raspberry Pi has 2 micro HDMI ports, which makes it possible to connect 2 4K monitors.
- The 40-pin GPIO connector allows you to connect a variety of sensors, indicators, controls, programmable microcontrollers, execution devices to the microcomputer and use Raspberry Pi in a variety of areas, such as – "smart home", process automation, robotics, etc.
Technical specification
- Processor: Broadcom BCM2711 (4-core), ARMv8 Cortex-A72 64-bit @ 1.5 GHz;
- Memory: 1GB/2GB/4GB/8GB LPDDR4-3200;
- Communication: 10/100/1000M Ethernet, Bluetooth 5.0 Low Energy (BLE), WiFi 2.4 GHz/5GHz IEEE 802.11 b/g/n/ac;
- USB Host: USB 2.0 x 2, USB 3.0 x 2;
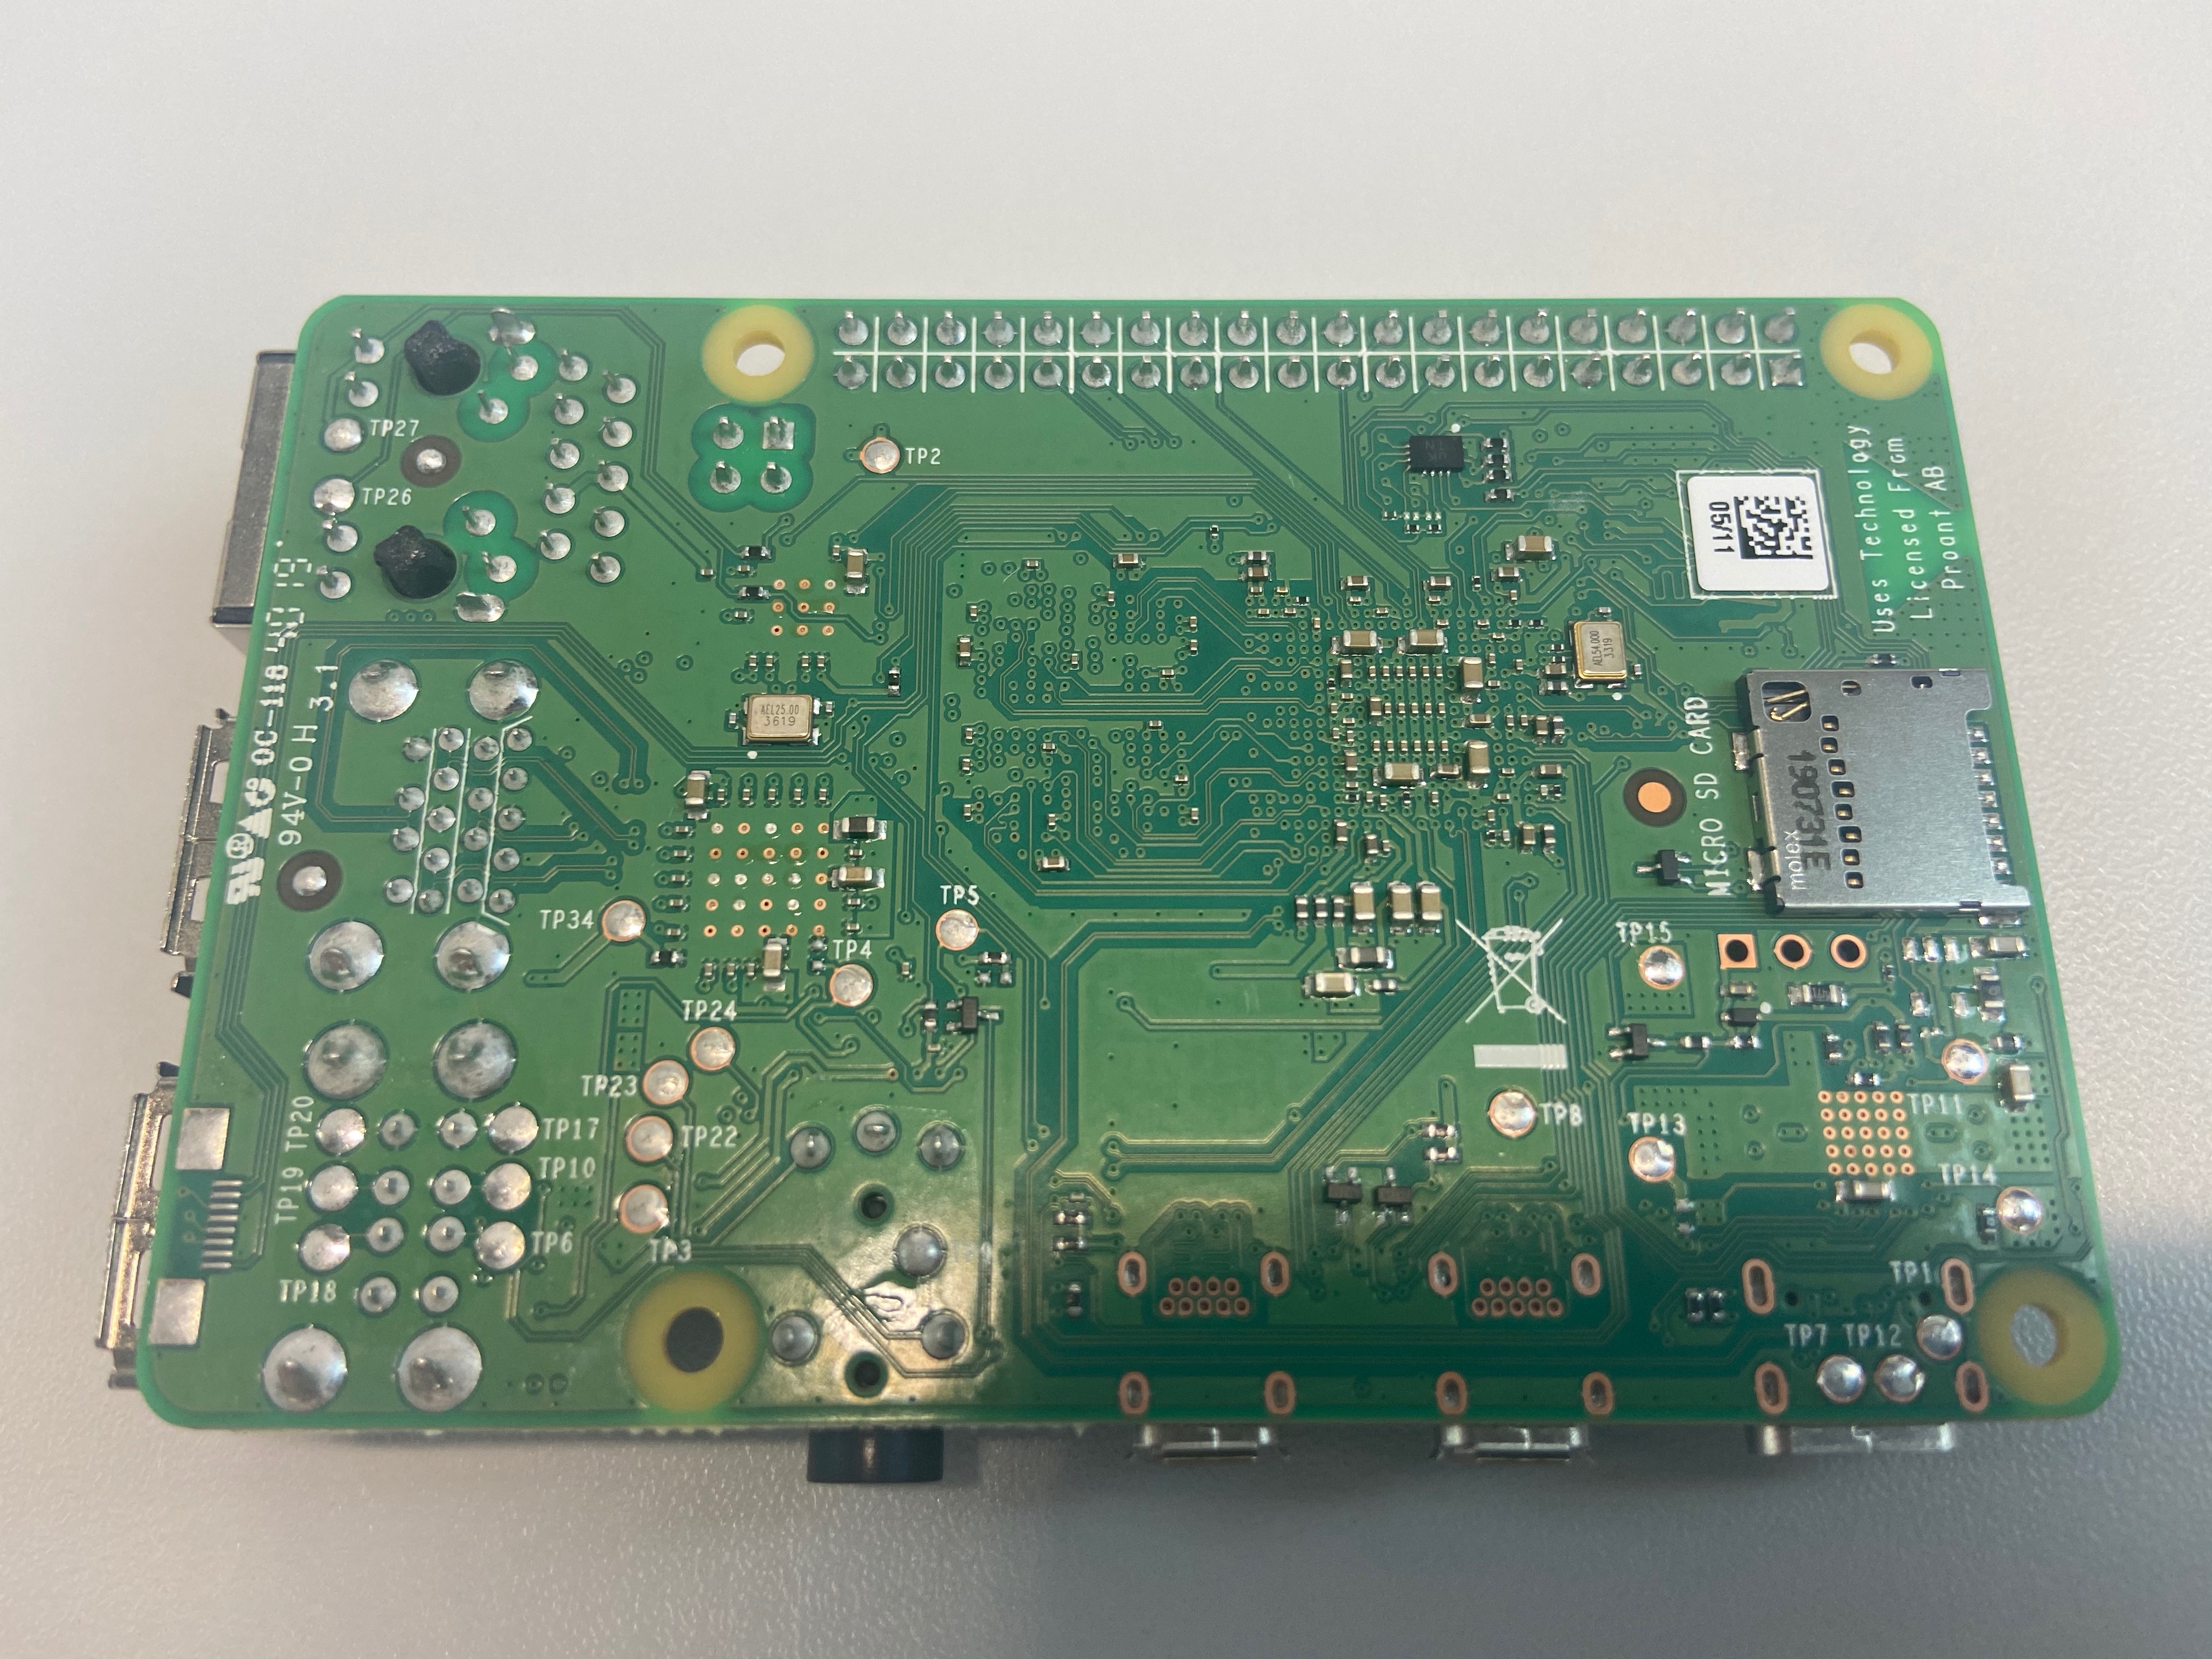
- MicroSD slot: MicroSD x 1 for system bootloader and data;
- LED: Power LED x 1, System LED x 1;
- GPIO: 2.54 mm pitch 40-pin pad with 4 × UART, 4 × SPI and 4 × I2C support;
- USB Type-C: Power Input (5V/3A) (power supply not included);
- HDMI: Micro HDMI x 2;
- A/V outputs: 3.5 mm Jack 4 pin, MIPI DSI connector, MIPI CSI connector;
- Dimensions: 88 x 58 x 17mm;
- Operating temperature: -20℃ to 70℃;
- Board weight: 48g.
Unpacking and assembling
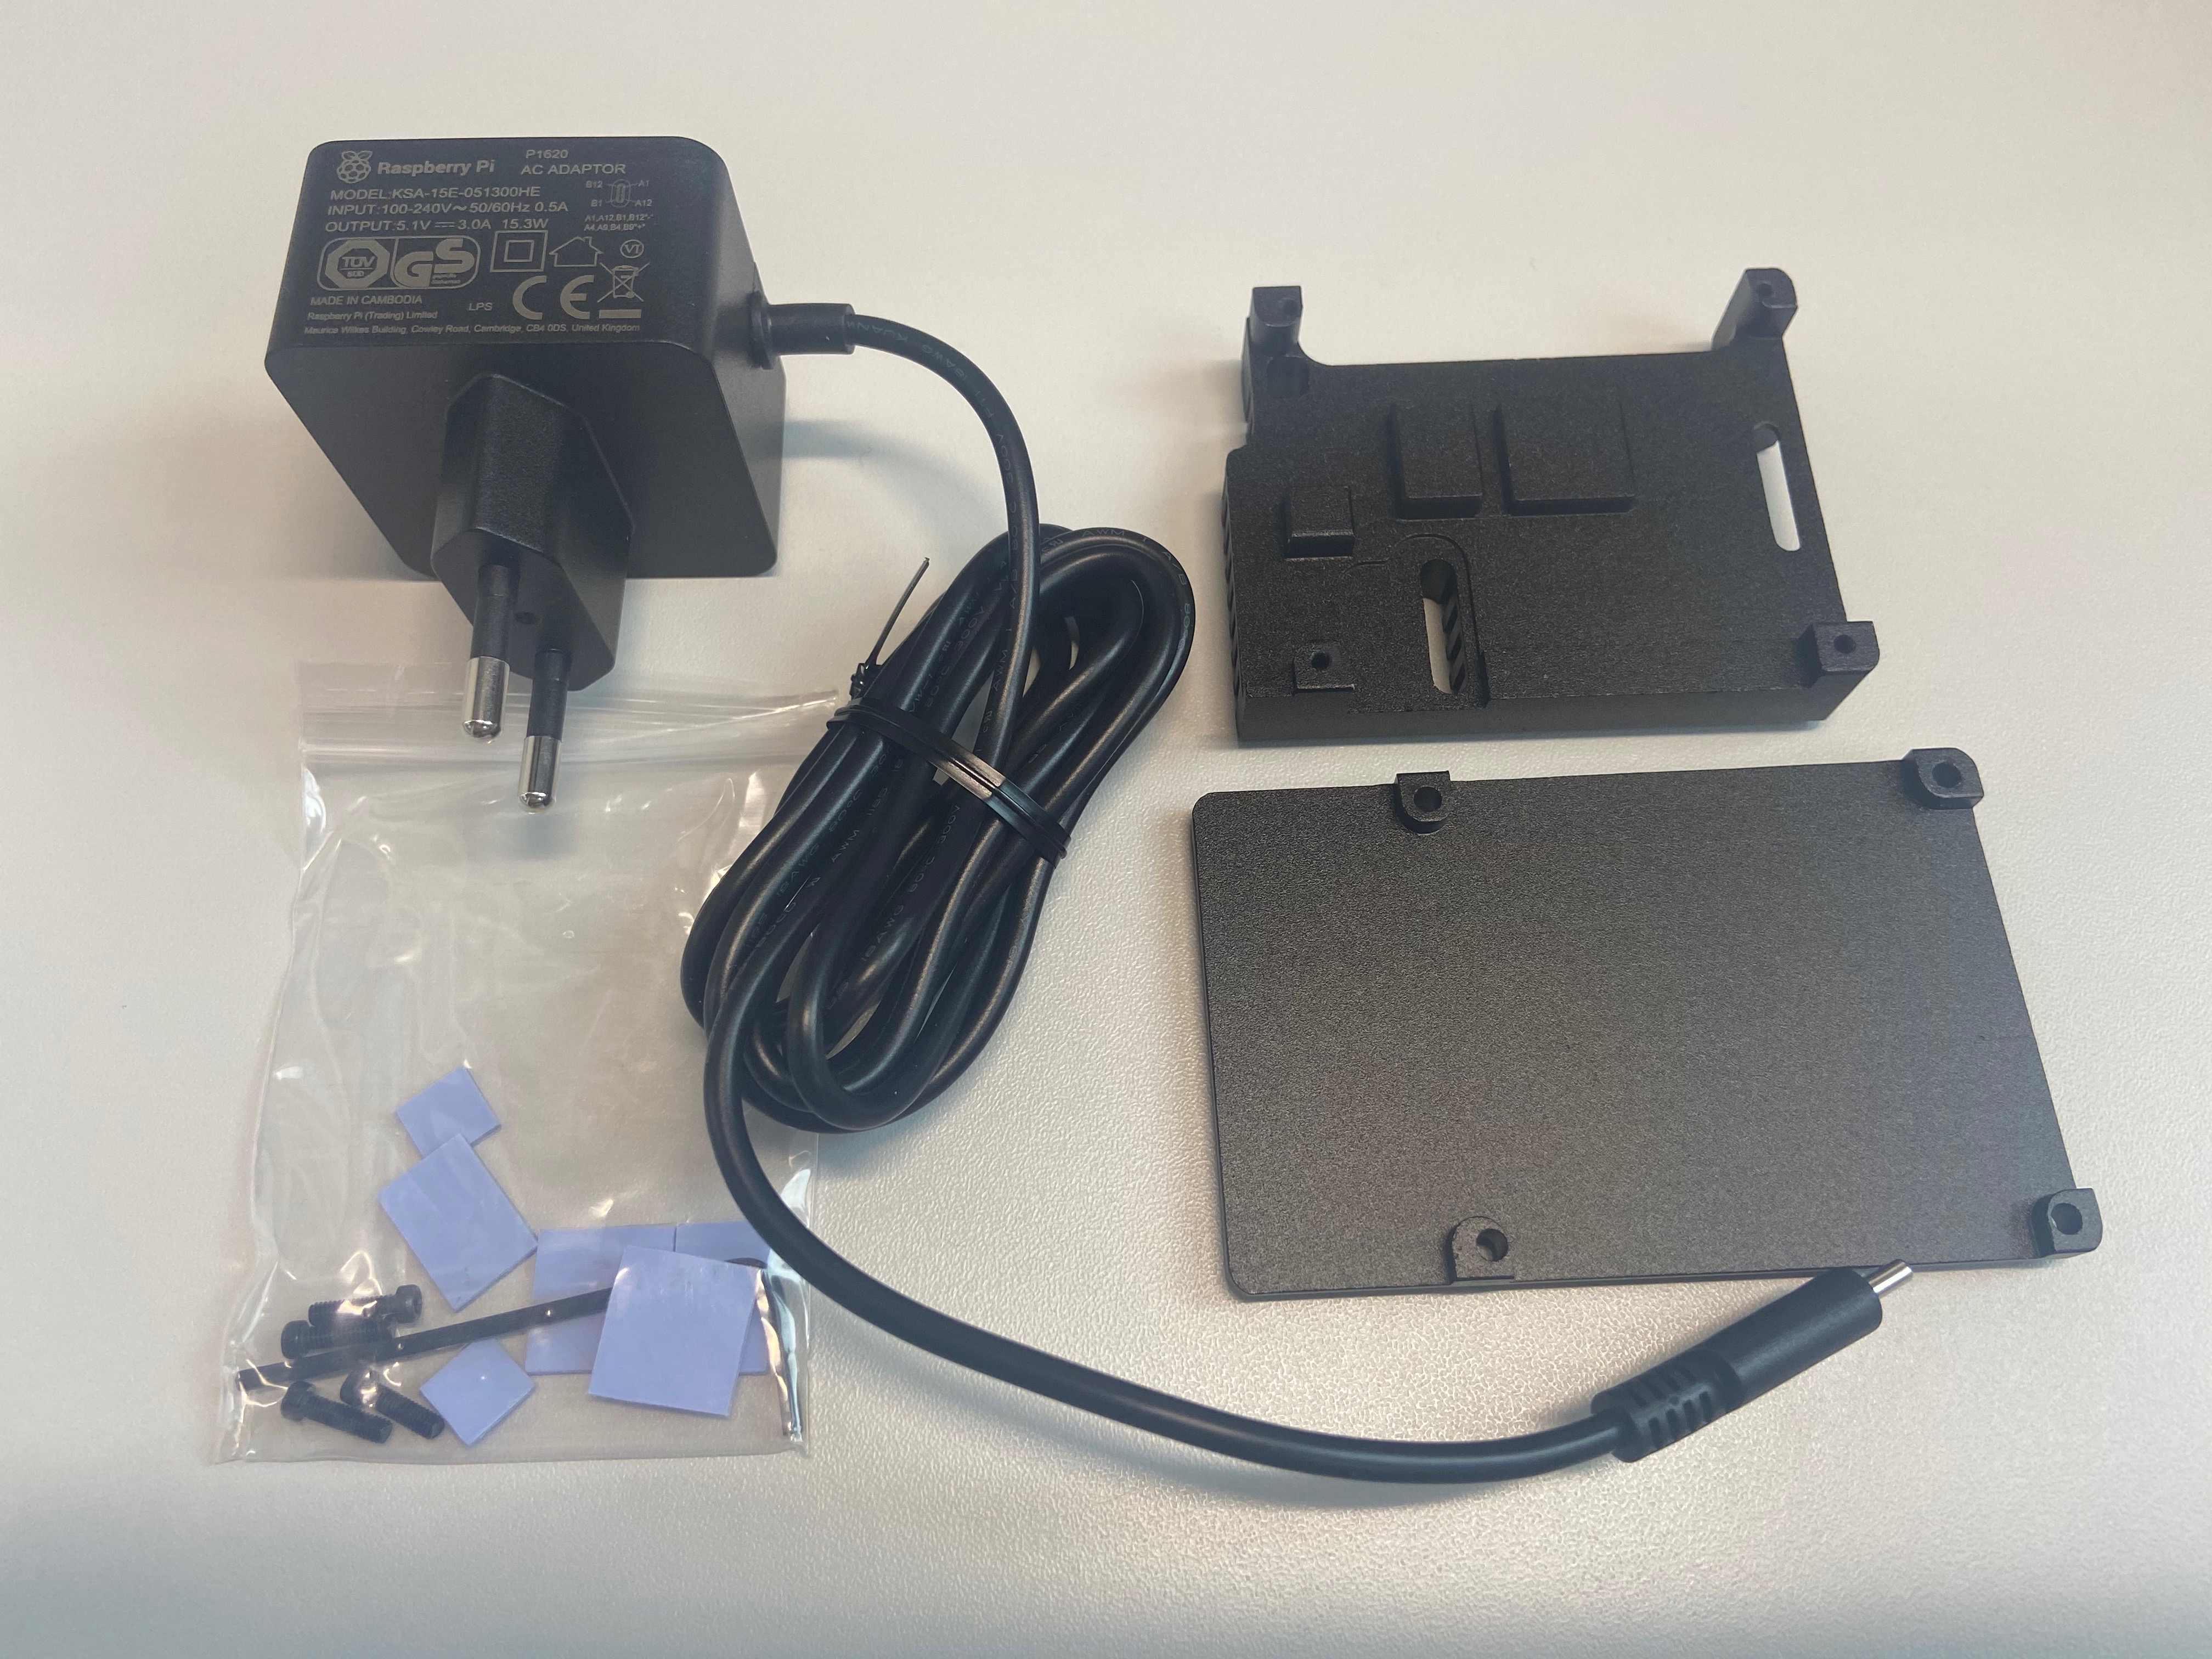

- Glue the heat-conducting pads to the chips, connect the two parts of the radiator and fasten them to each other with the screws from the kit;
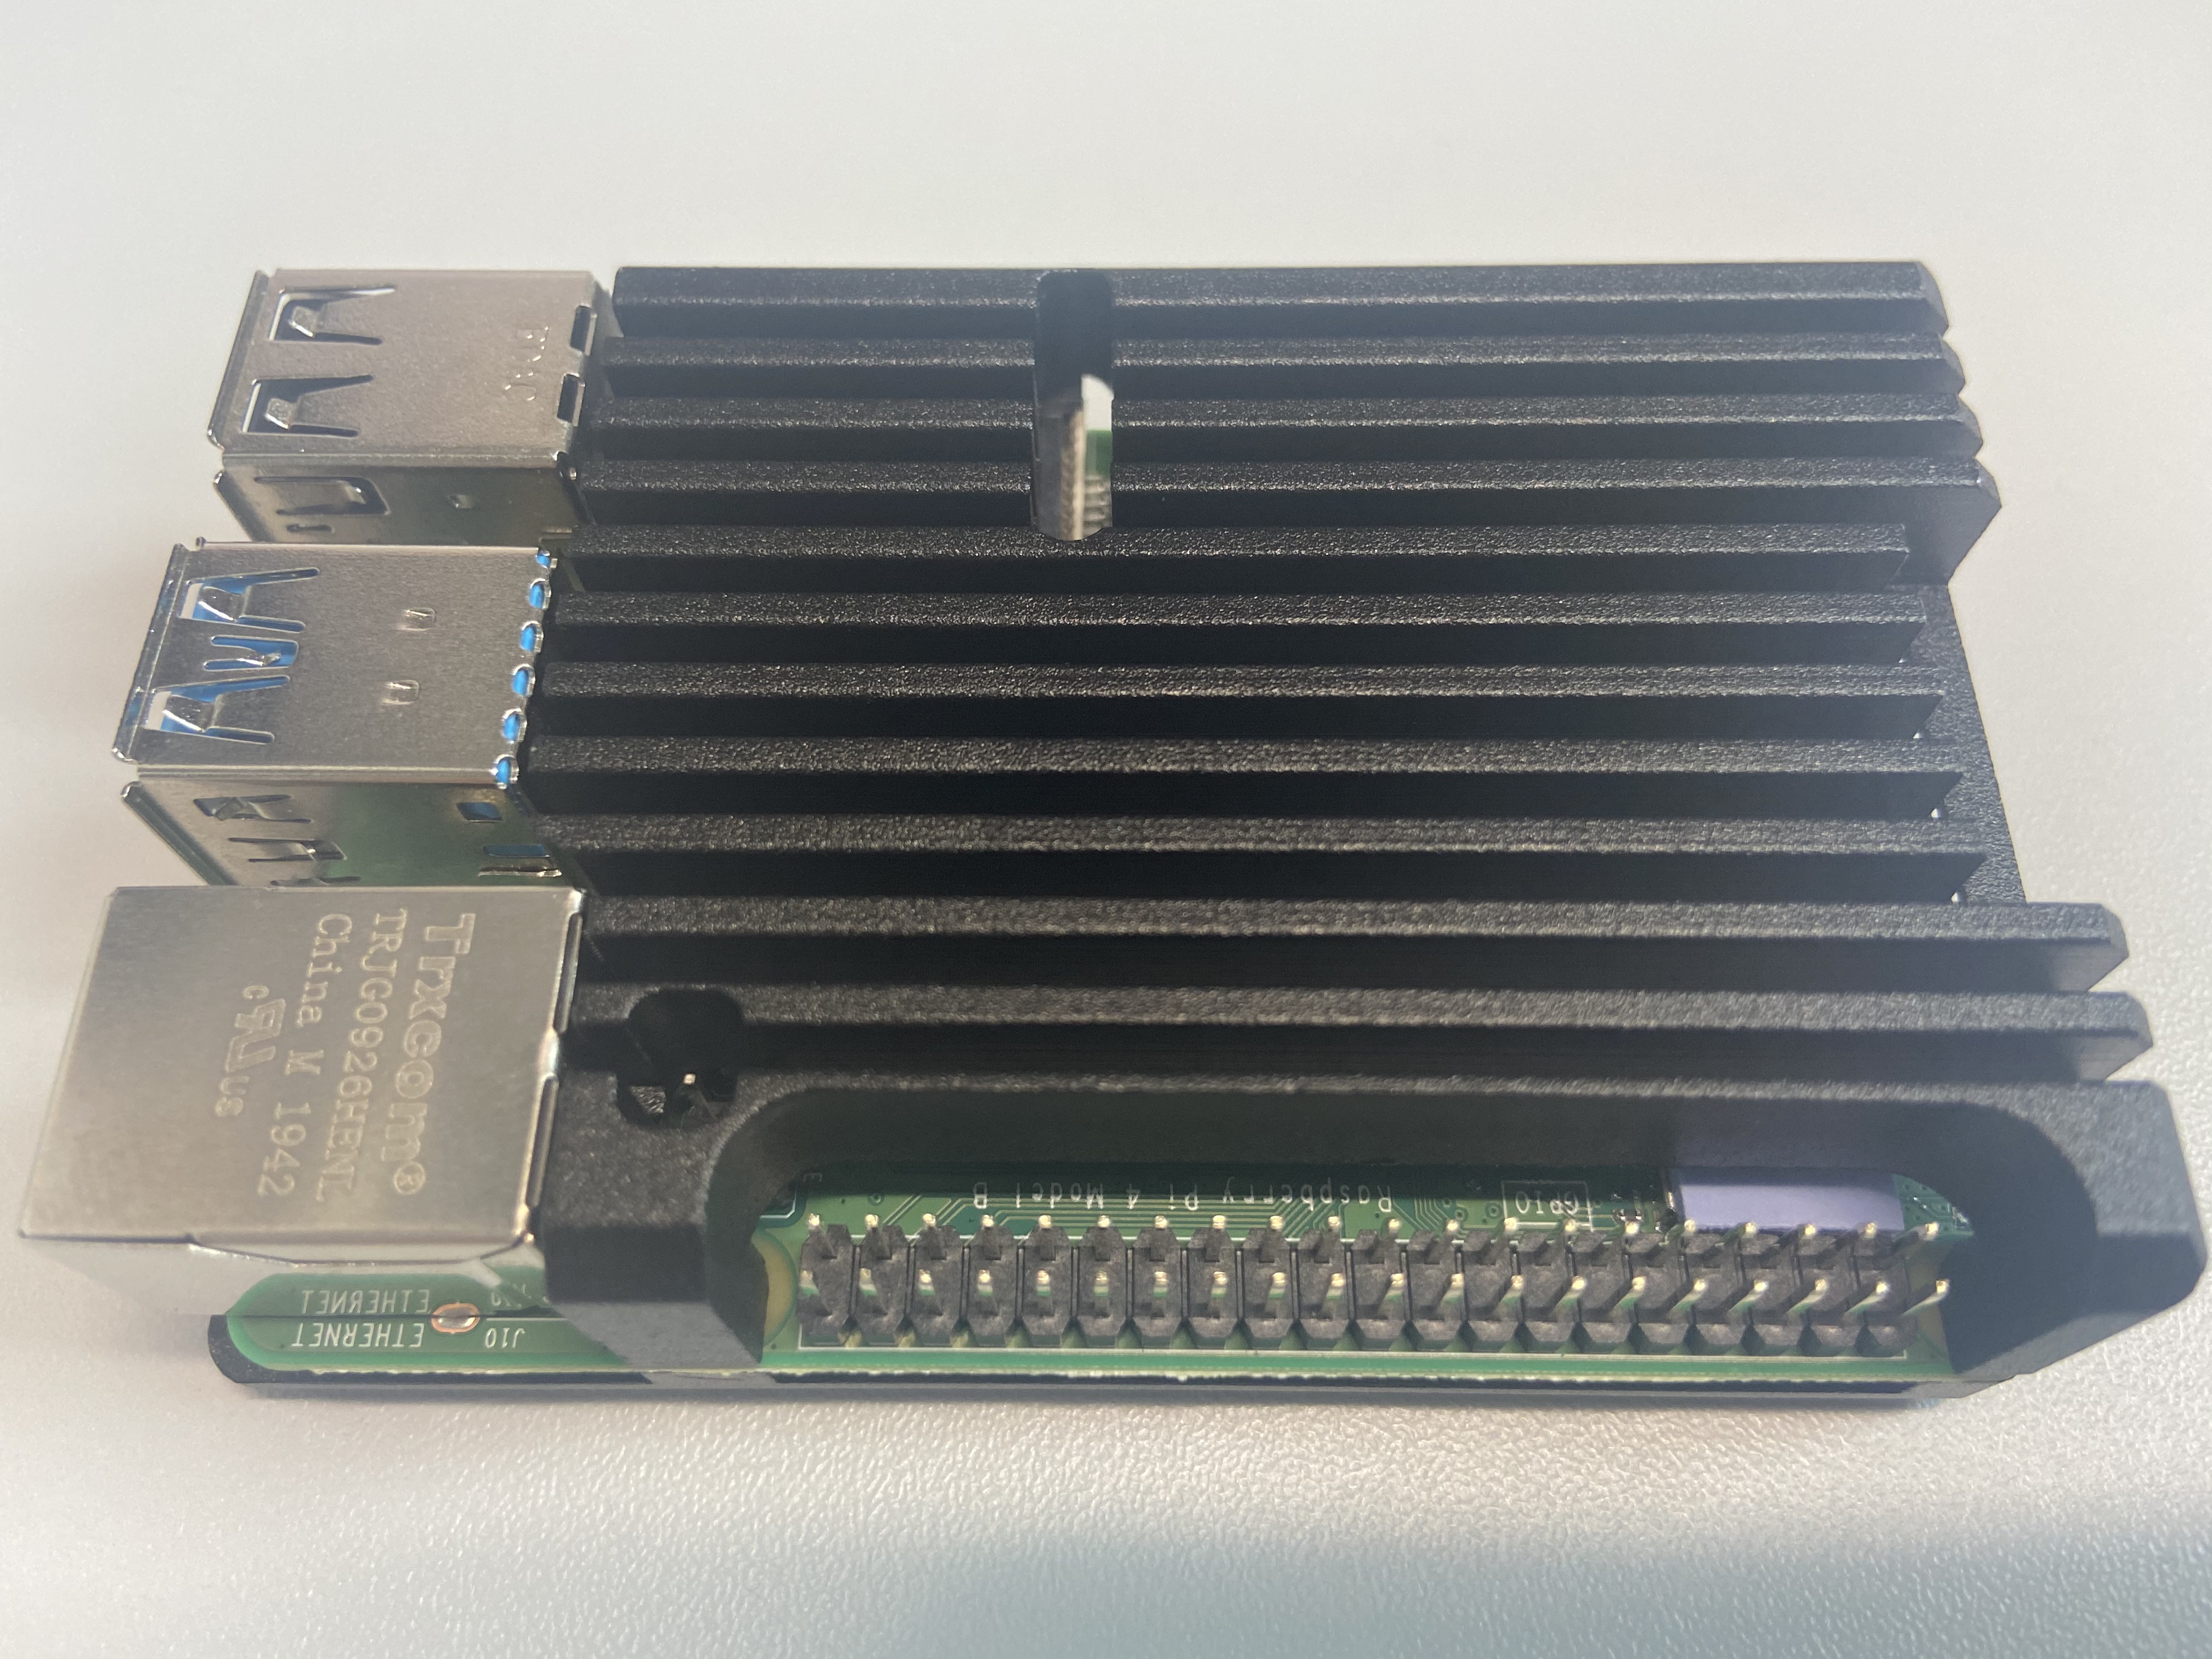
- Everything assembling very simple.
Software (Ubuntu Mate 20.04)
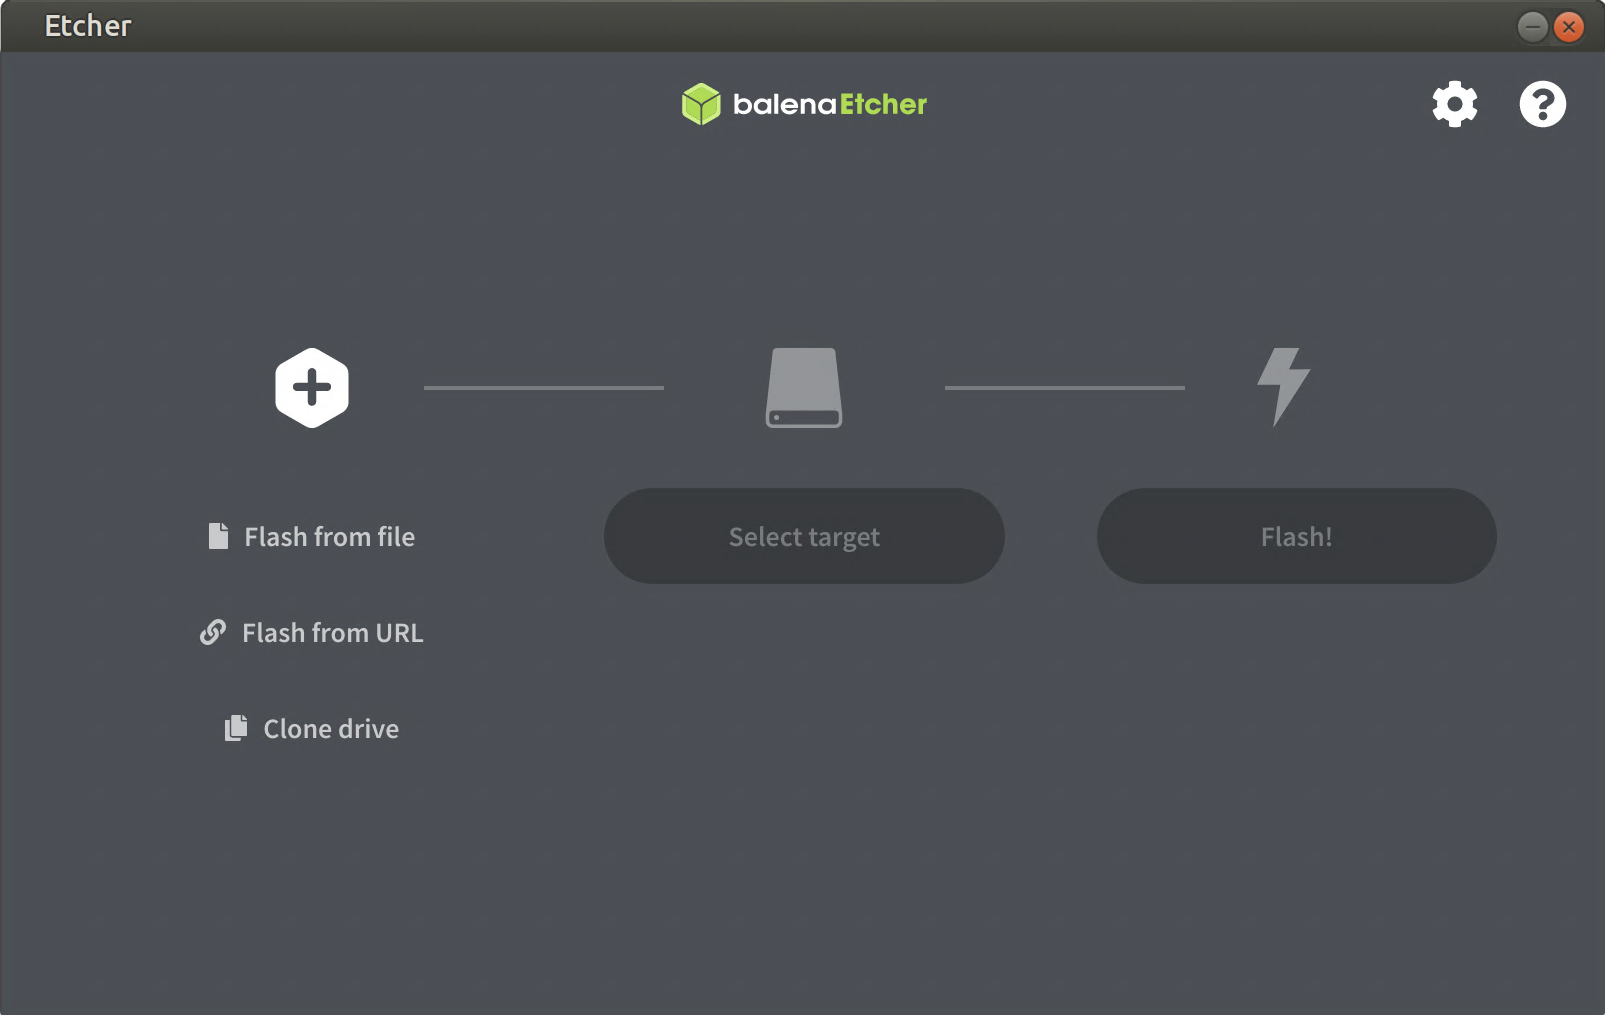
Open the link https://ubuntu-mate.org/download/arm64/focal/ and download the disk image. Next, open the link https://www.balena.io/etcher/ and download the program balena Etcher.
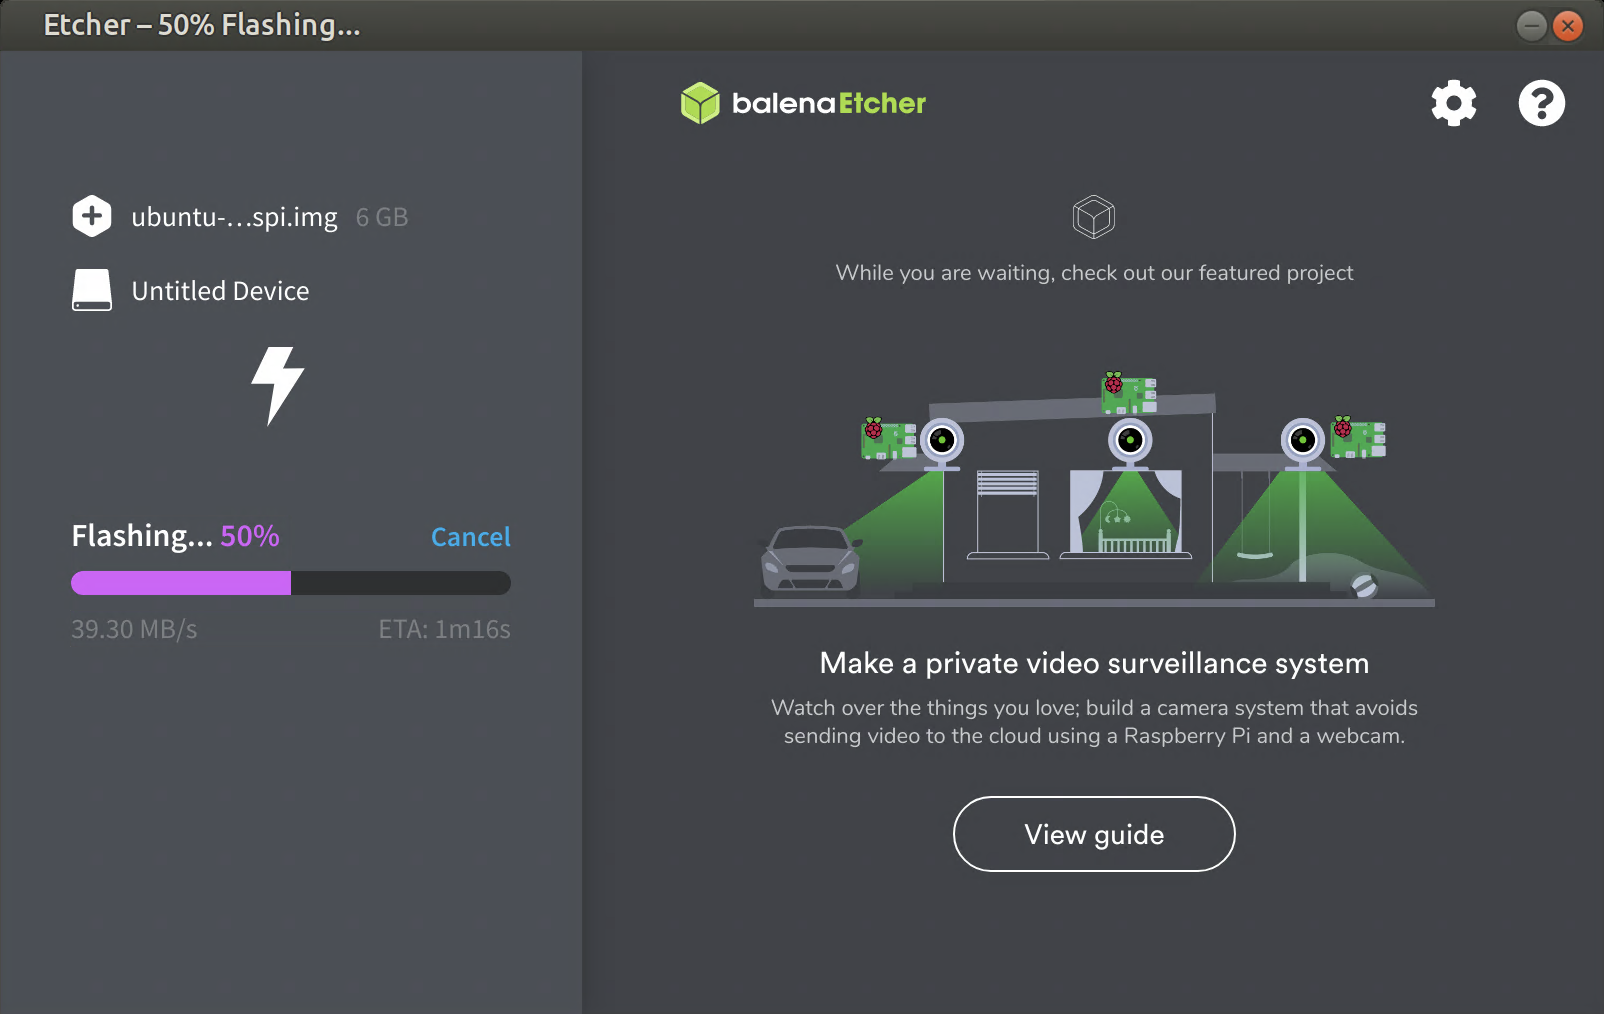
- Launching balena Etcher;
- Click on the Flash from file button and select the previously downloaded image file from the list of files;
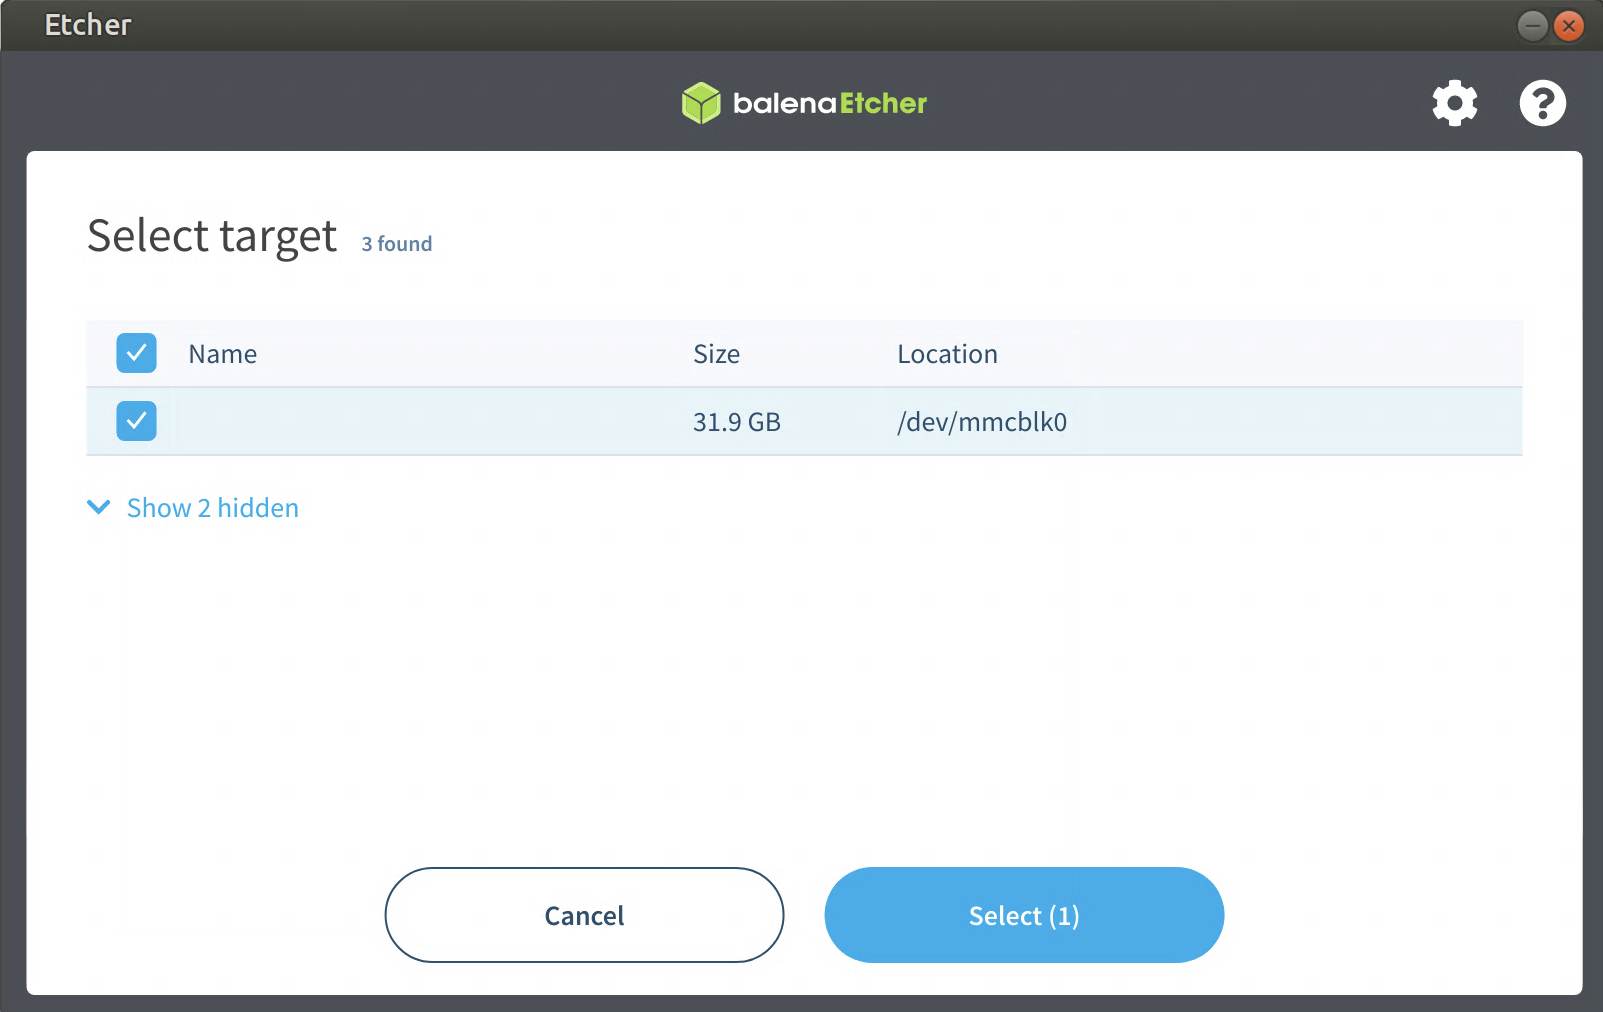
- Next, click on the Select target button, tick the disk
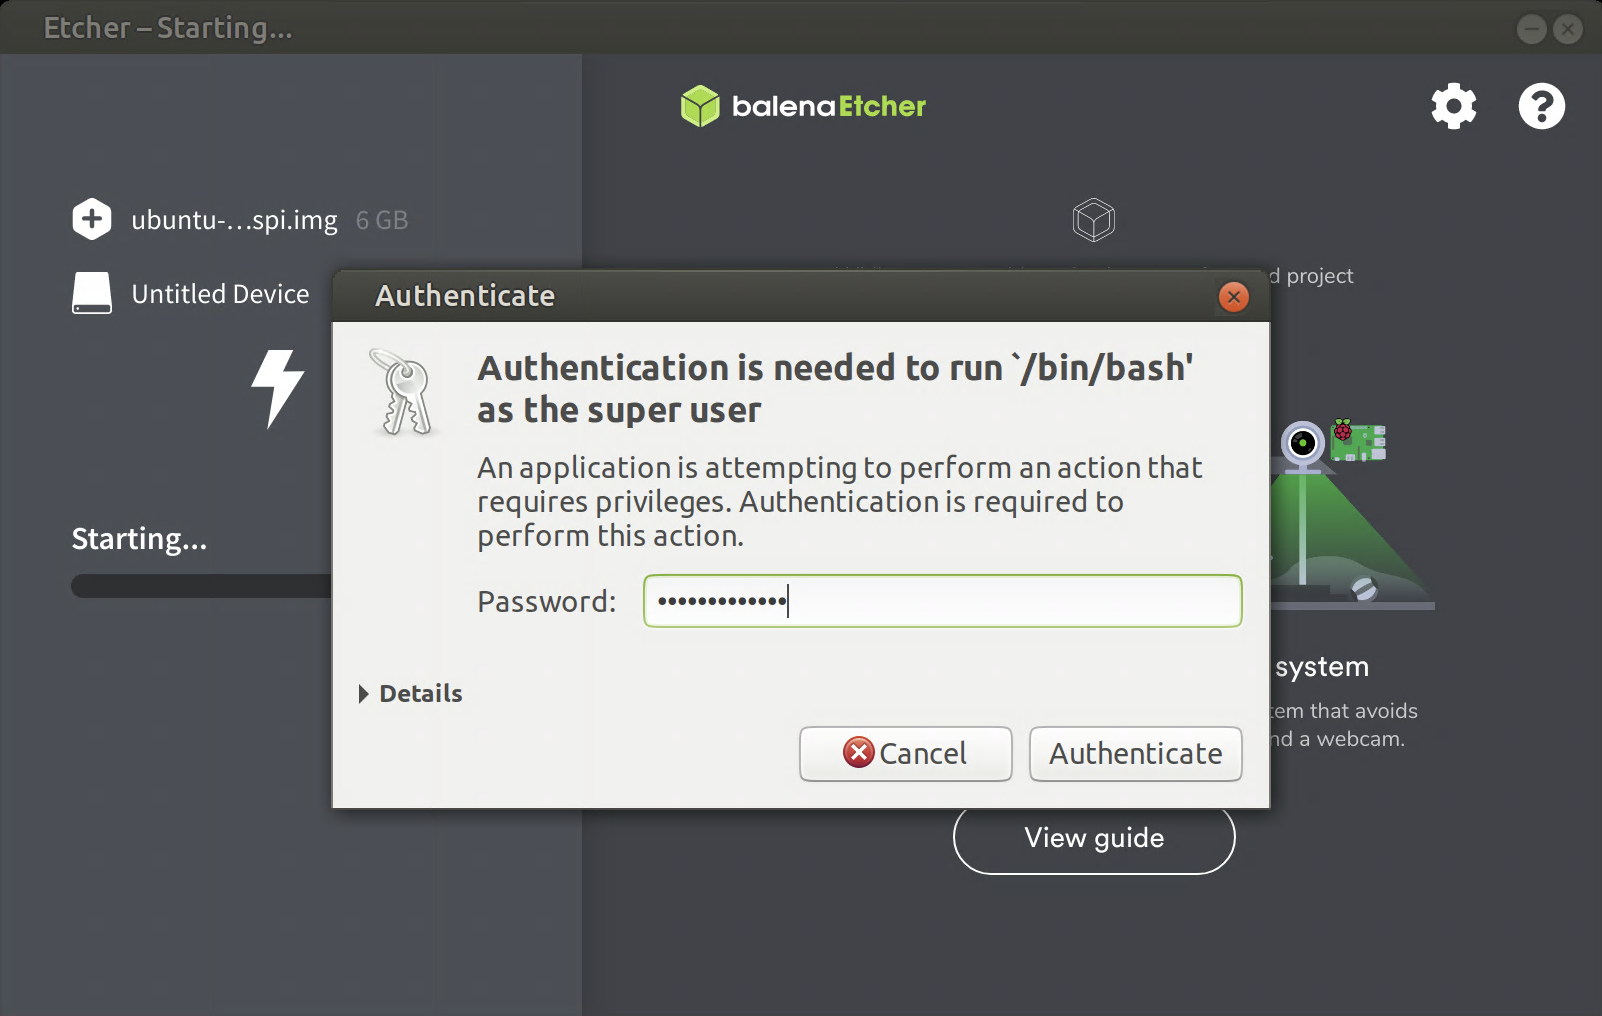
/dev/mmcblk0and click on the Select button; - Then click on the button Flash!;
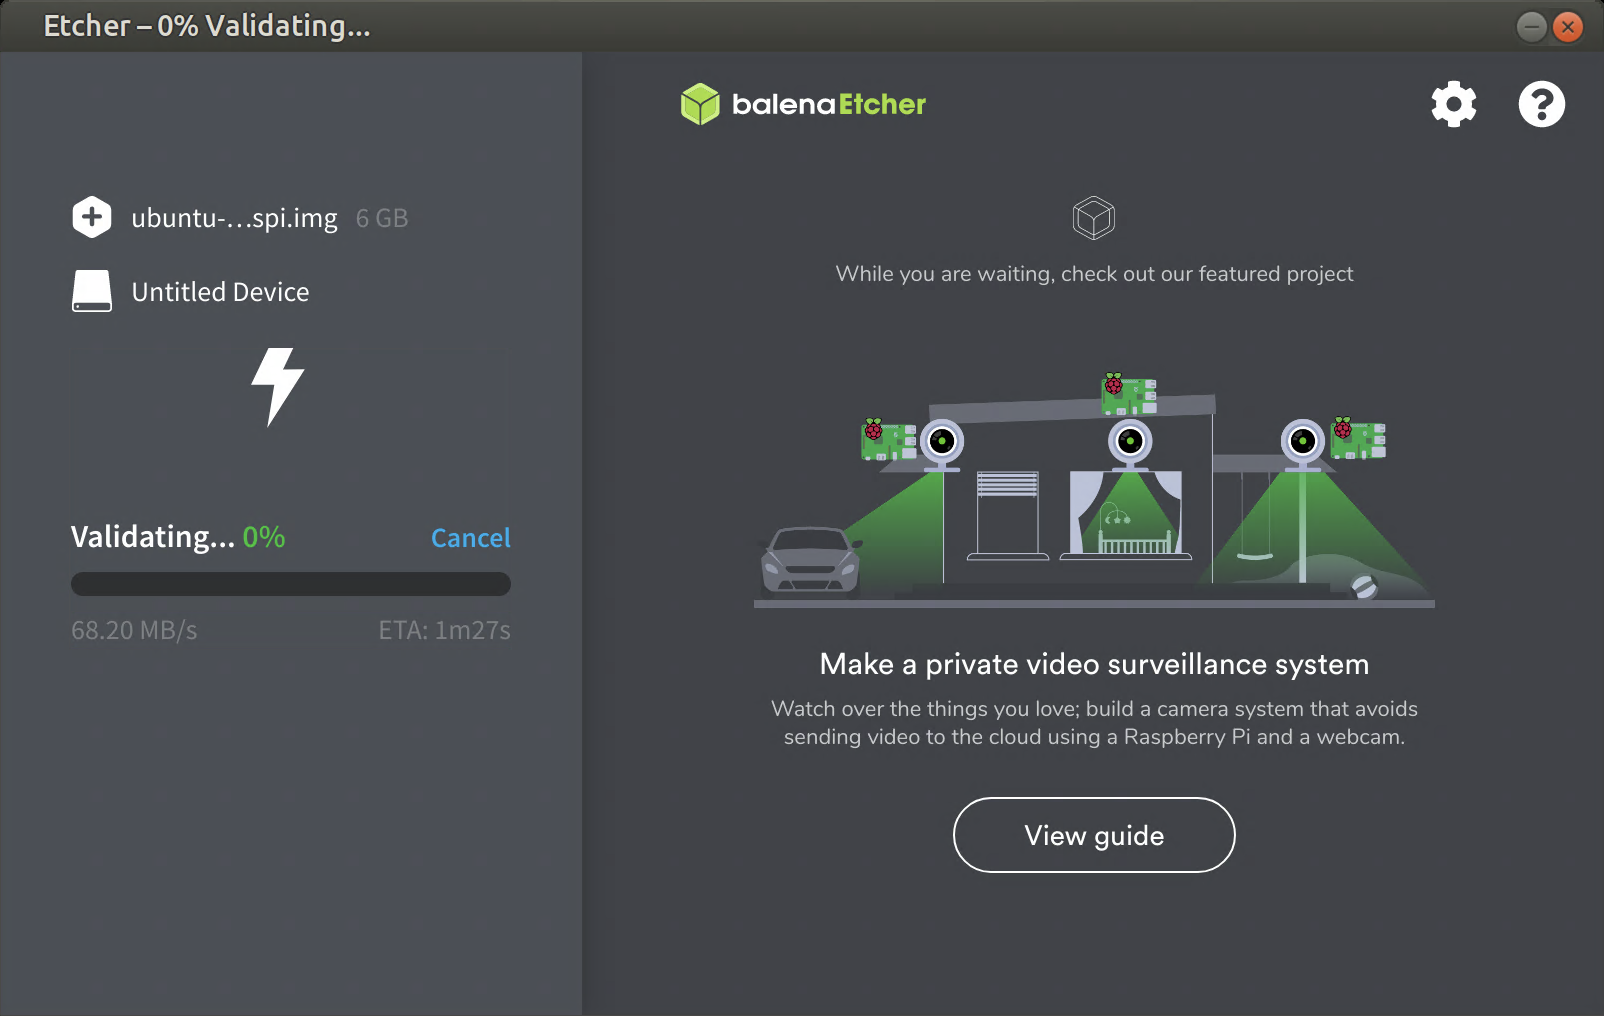
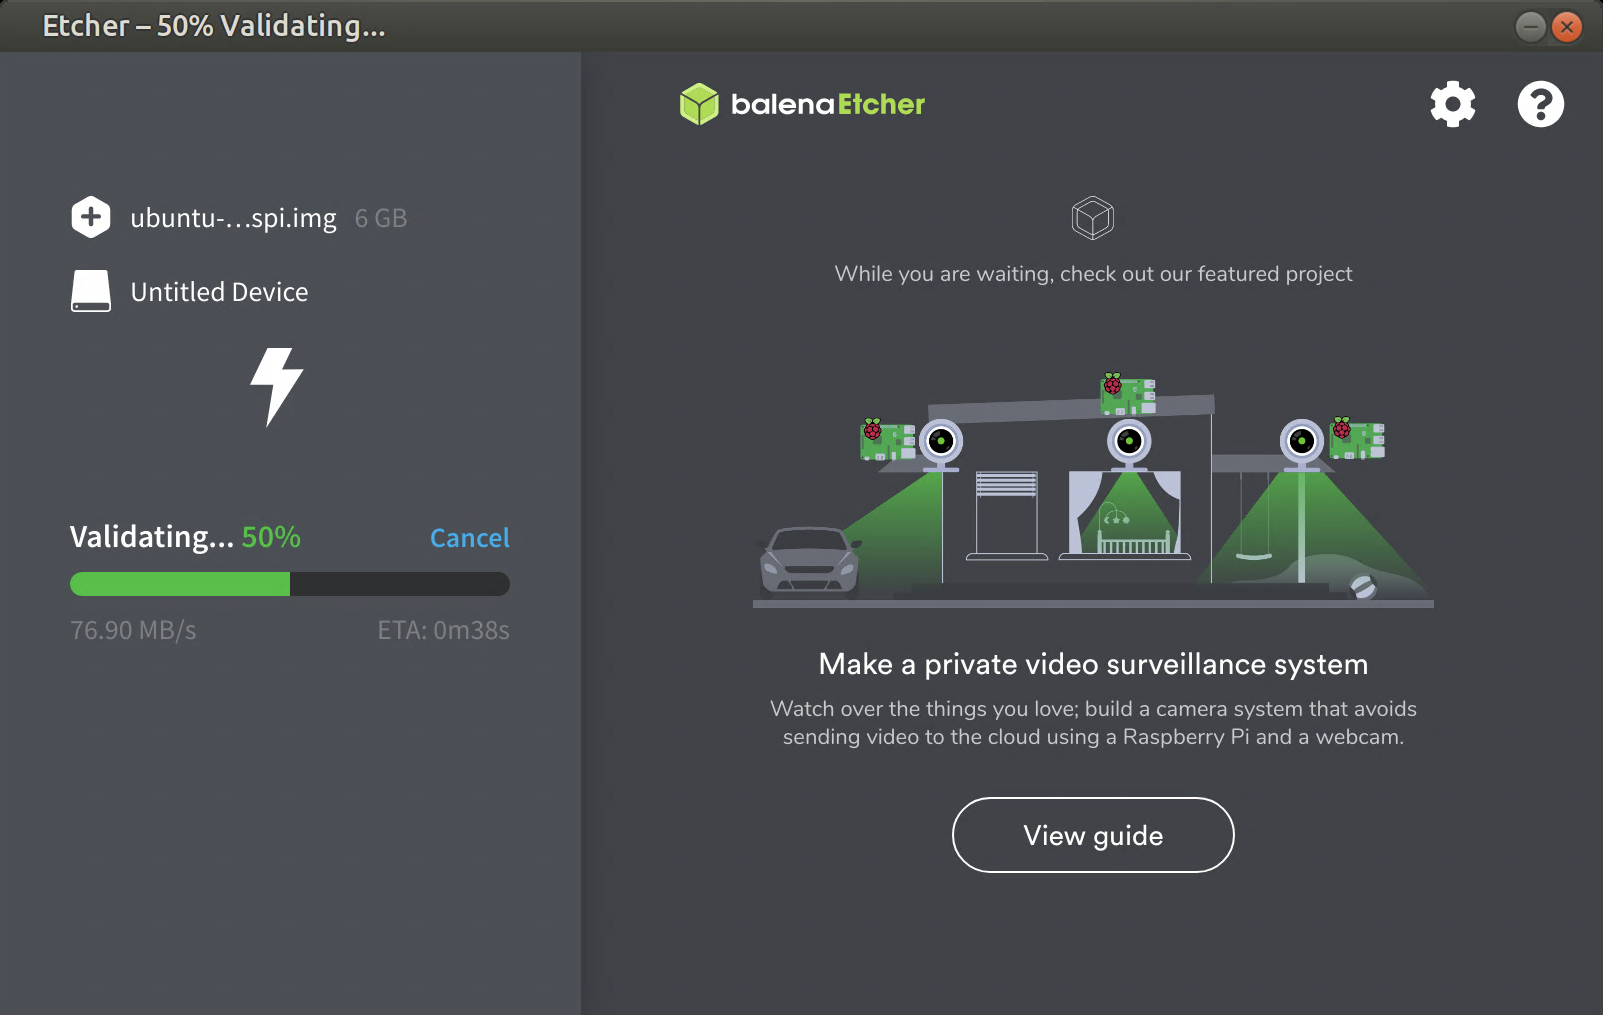
- After the image is written to the MicroSD card and the message Flash Complete! appeared, closing balena Etcher.


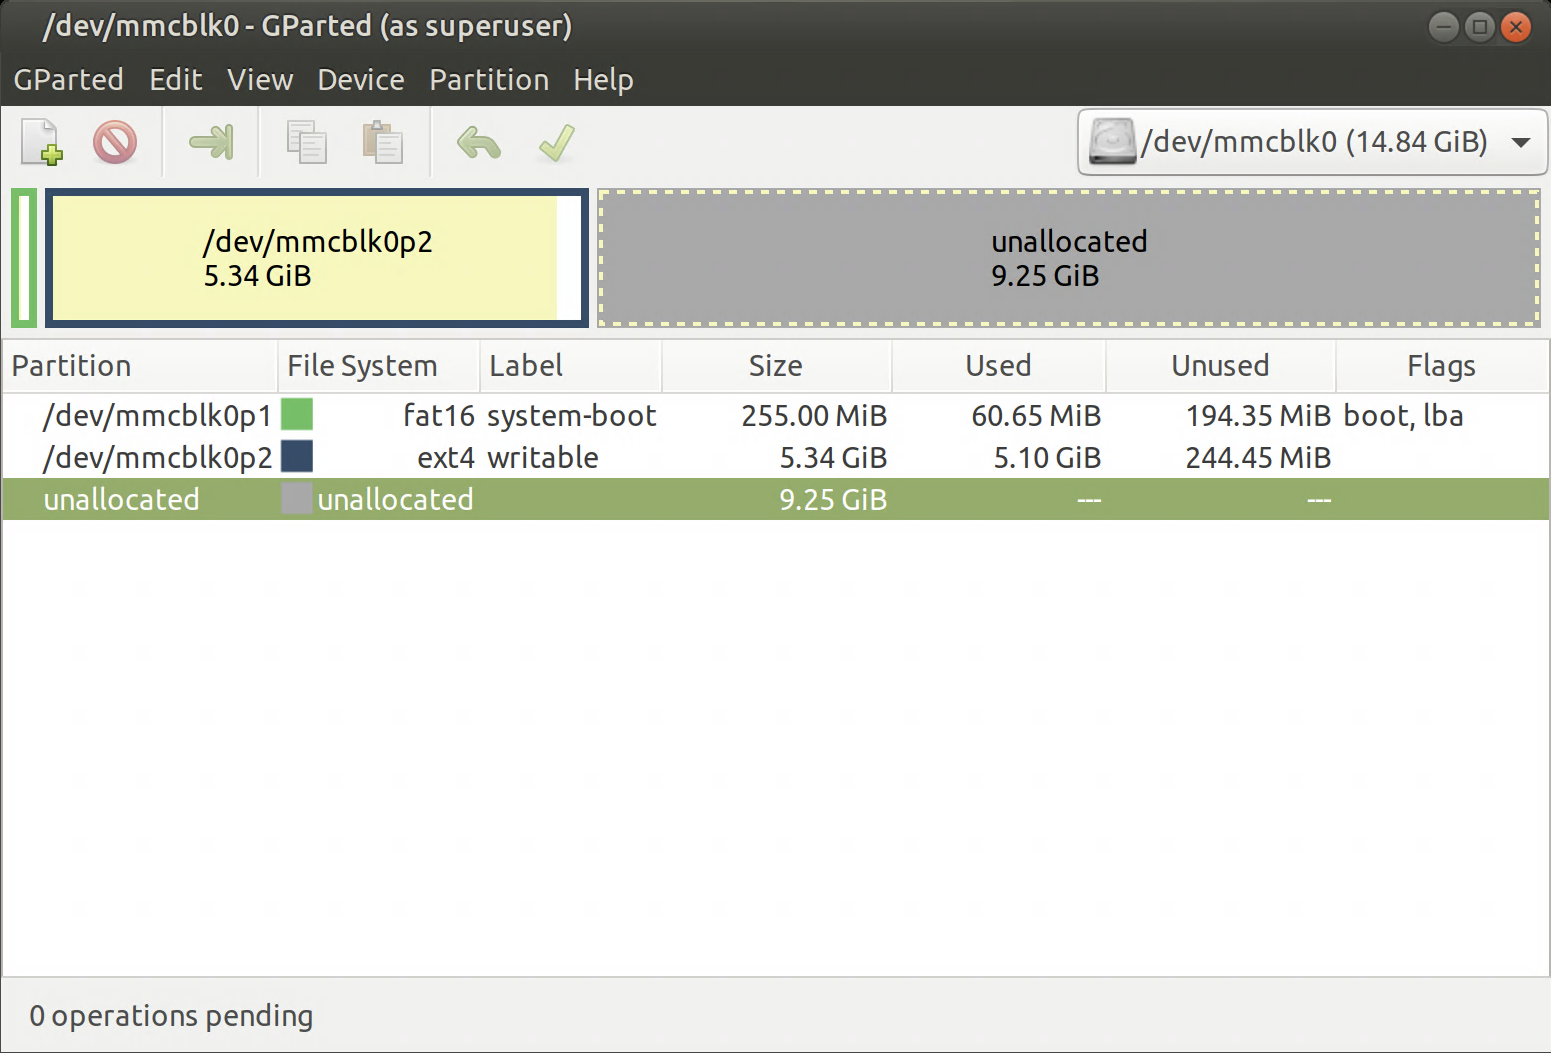
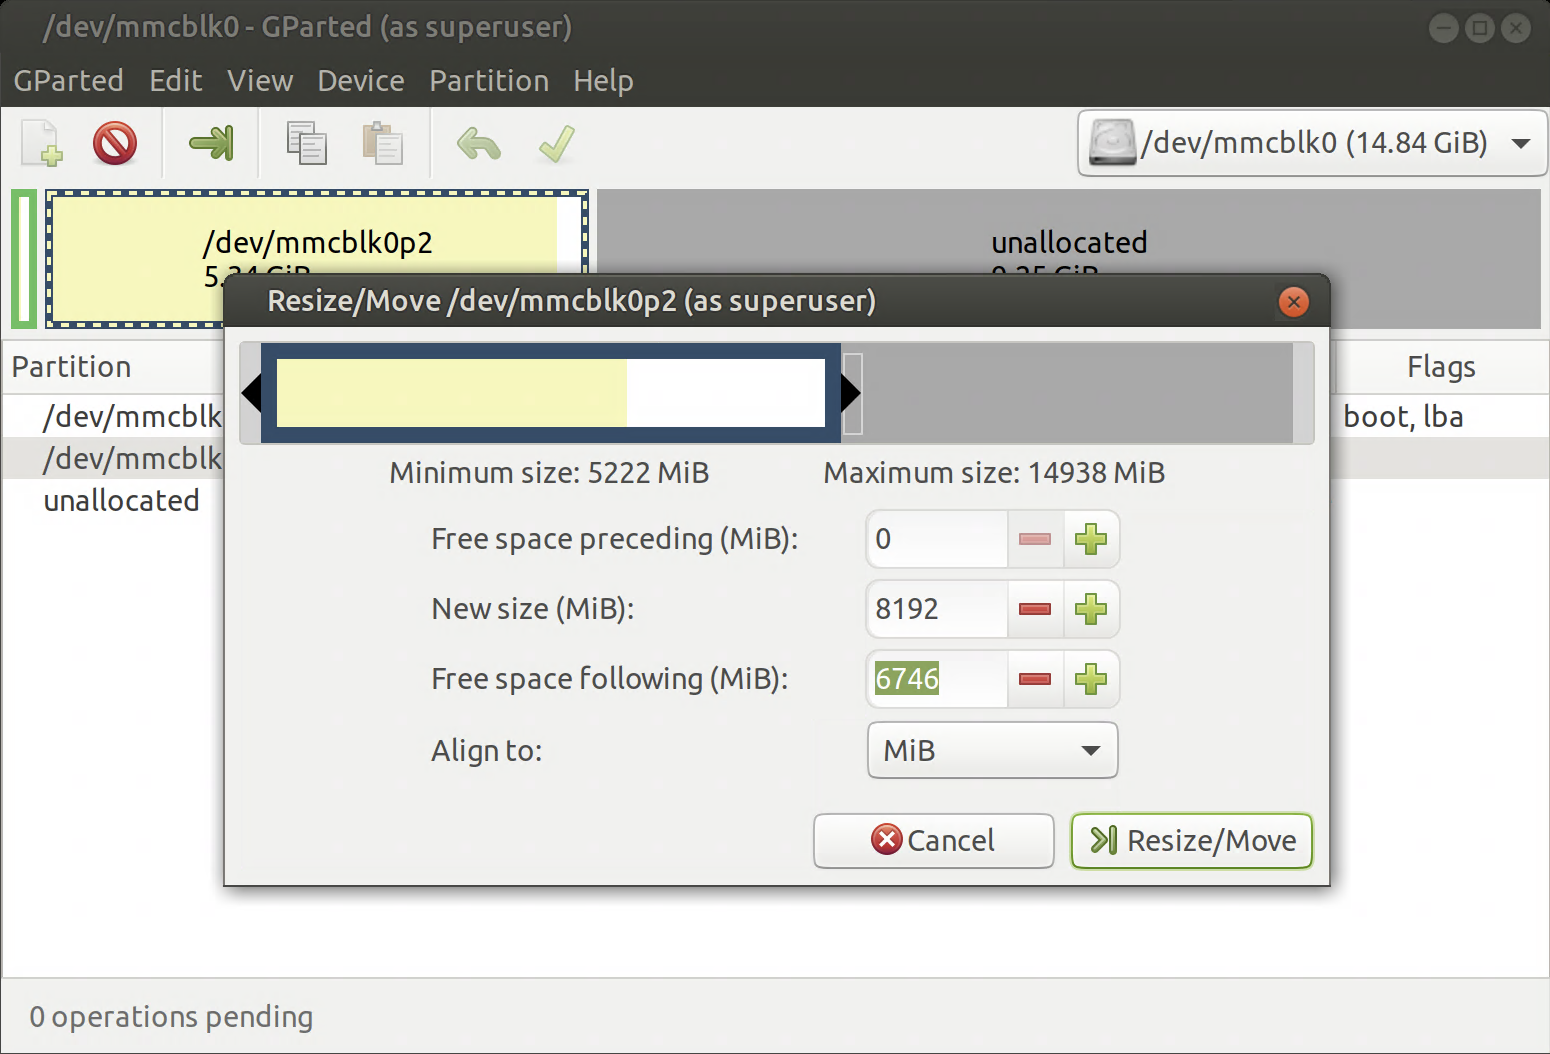
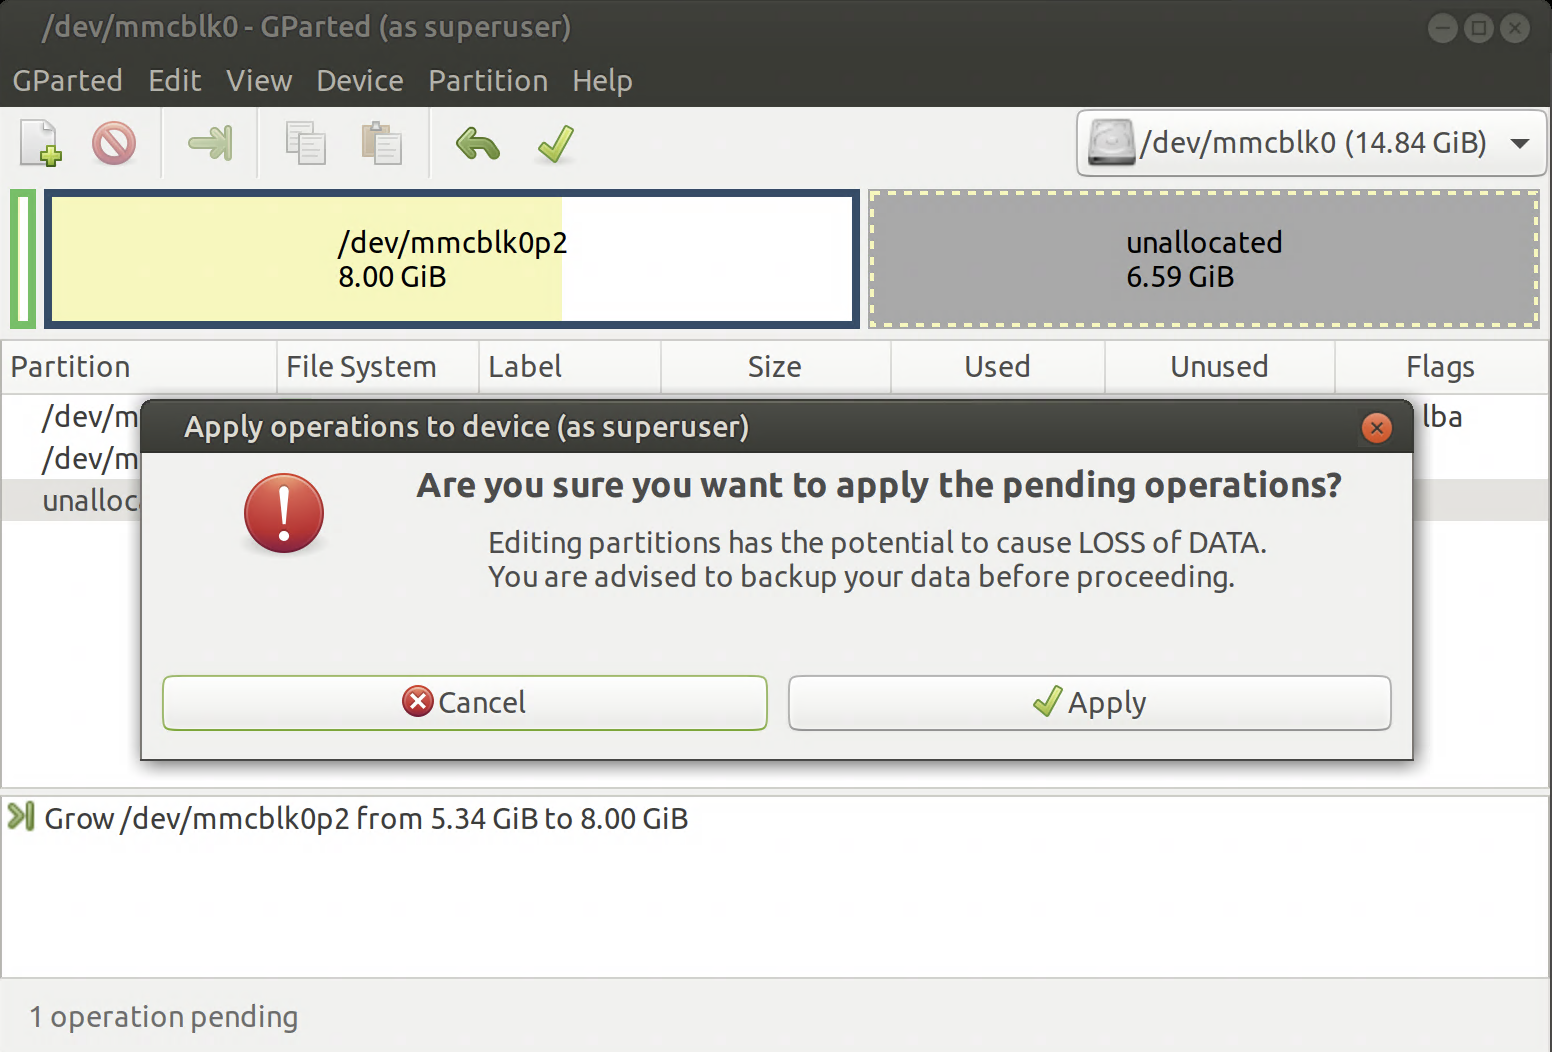
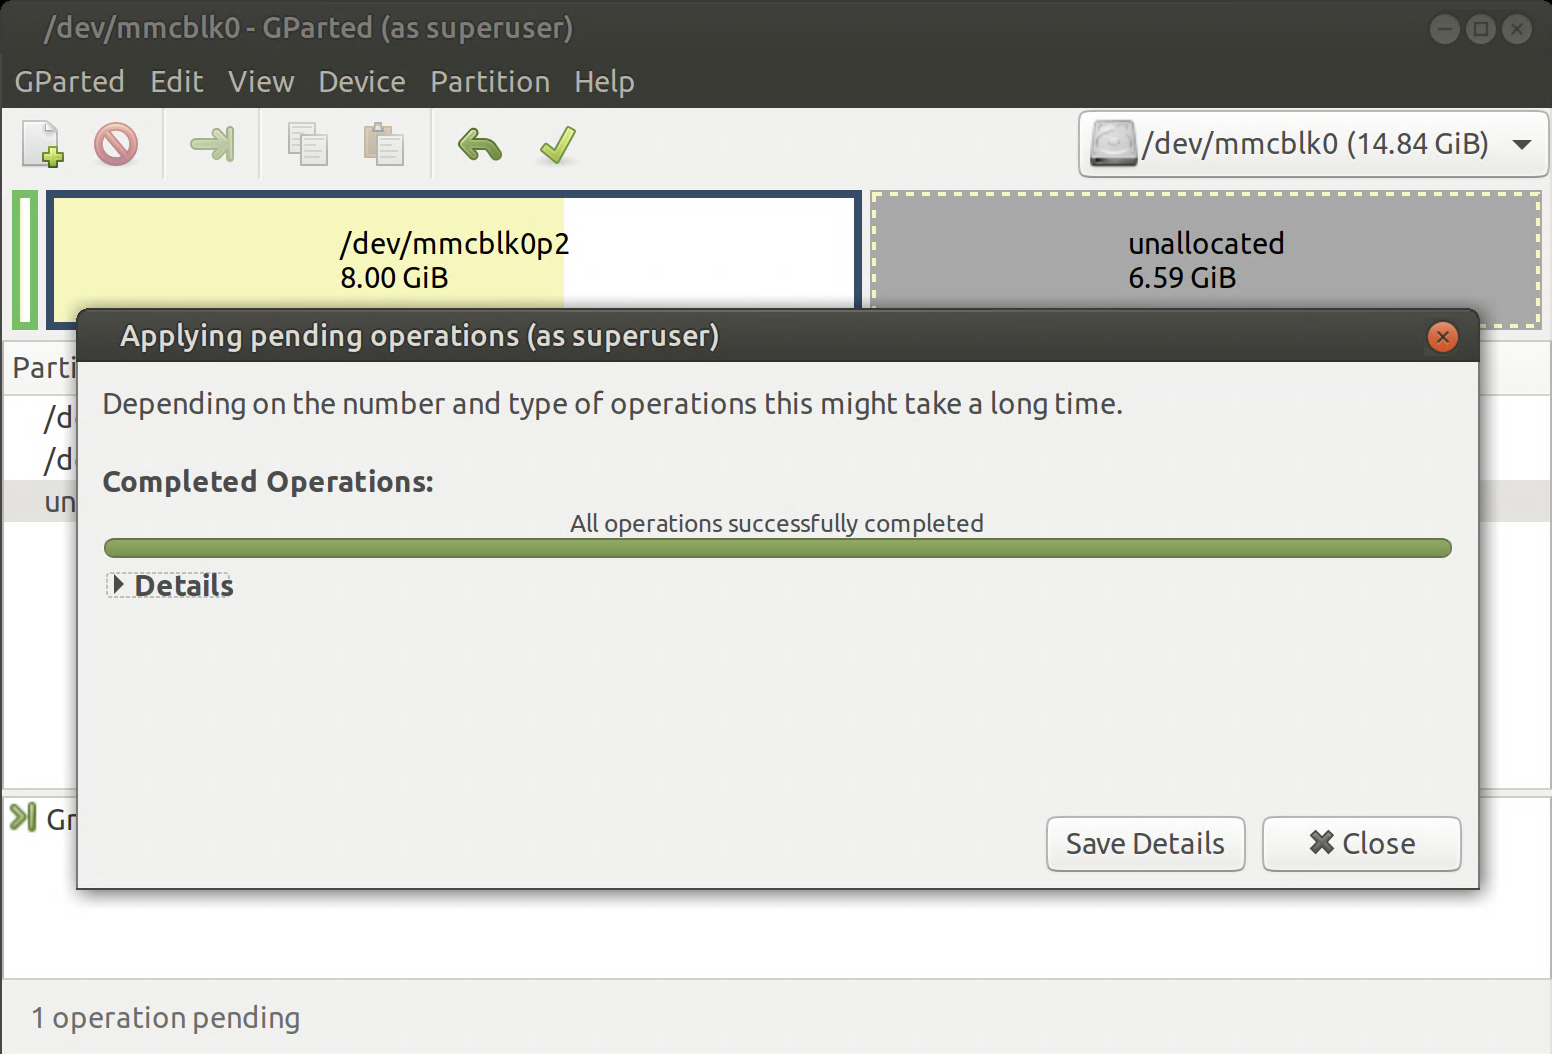
- In the recorded image, the default size of the main partition is about 5GB, which is very small, and if you leave it this way, errors will occur during the first launch, during the initial configuration of Ubuntu Mate. Therefore, the first step is to increase the size of this partition to at least 8GB. The easiest way to do this is to use the GParted program.
Headless installation Ubuntu Mate
-
When you first start Ubuntu Mate on Raspberry Pi, the installer program starts, which specifies the computer name and time zone. During the first launch, a user is created to work with, and a number of programs are installed and updated. If the monitor, keyboard, and mouse are not connected to the Raspberry Pi, it is almost impossible to complete the installation.
-
To complete the installation process Ubuntu Mate without a monitor (in headless mode), use the UART port on Raspberry Pi and a small USB dongle USB2UART from FriendlyELEC.
- Before starting Raspberry Pi from the MicroSD card that we recorded earlier, we need to enable the display of kernel startup logs on the console port and enable the ability to log in from the console port:
wakko@radio:~$ sudo su
[sudo] password for wakko:
radio:~$# partprobe /dev/mmcblk0

radio:~$# mount /dev/mmcblk0p1 /mnt/
radio:~$# cp -p /mnt/cmdline.txt /mnt/cmdline.txt.orig
radio:~$# sed -i 's/ plymouth.ignore-serial-consoles//' /mnt/cmdline.txt
radio:~$# nano -w /mnt/cmdline.txt
net.ifnames=0 dwc_otg.lpm_enable=0 console=serial0,115200 console=tty1 root=LABEL=writable rootfstype=ext4 elevator=deadline rootwait fixrtc quiet splash
radio:~$# nano -w /mnt/usercfg.txt
enable_uart=1
radio:~$# umount /mnt/

radio:~$# mount /dev/mmcblk0p2 /mnt/
radio:~$# ln -s /lib/systemd/system/serial-getty@.service /mnt/etc/systemd/system/oem-config.target.wants/serial-getty@ttyS0.service
radio:~$# umount /mnt/

radio:~$# exit-
The first block of commands disables the prohibition of displaying kernel startup logs on the console port, and the second block of commands adds the launch of the serial-getty service for the ttyS0 port in oem-config.target SystemD. When you first start Ubuntu Mate, the target oem-config.targetwill be loaded.
-
After we have prepared the card with Ubuntu Mate for download, we will connect the console of our Raspberry Pi to the existing computer. On the official documentation there are clear pictures showing how to connect to the UART port Raspberry Pi.
- Refer to the official Pinout diagram of the GPIO connector from page:
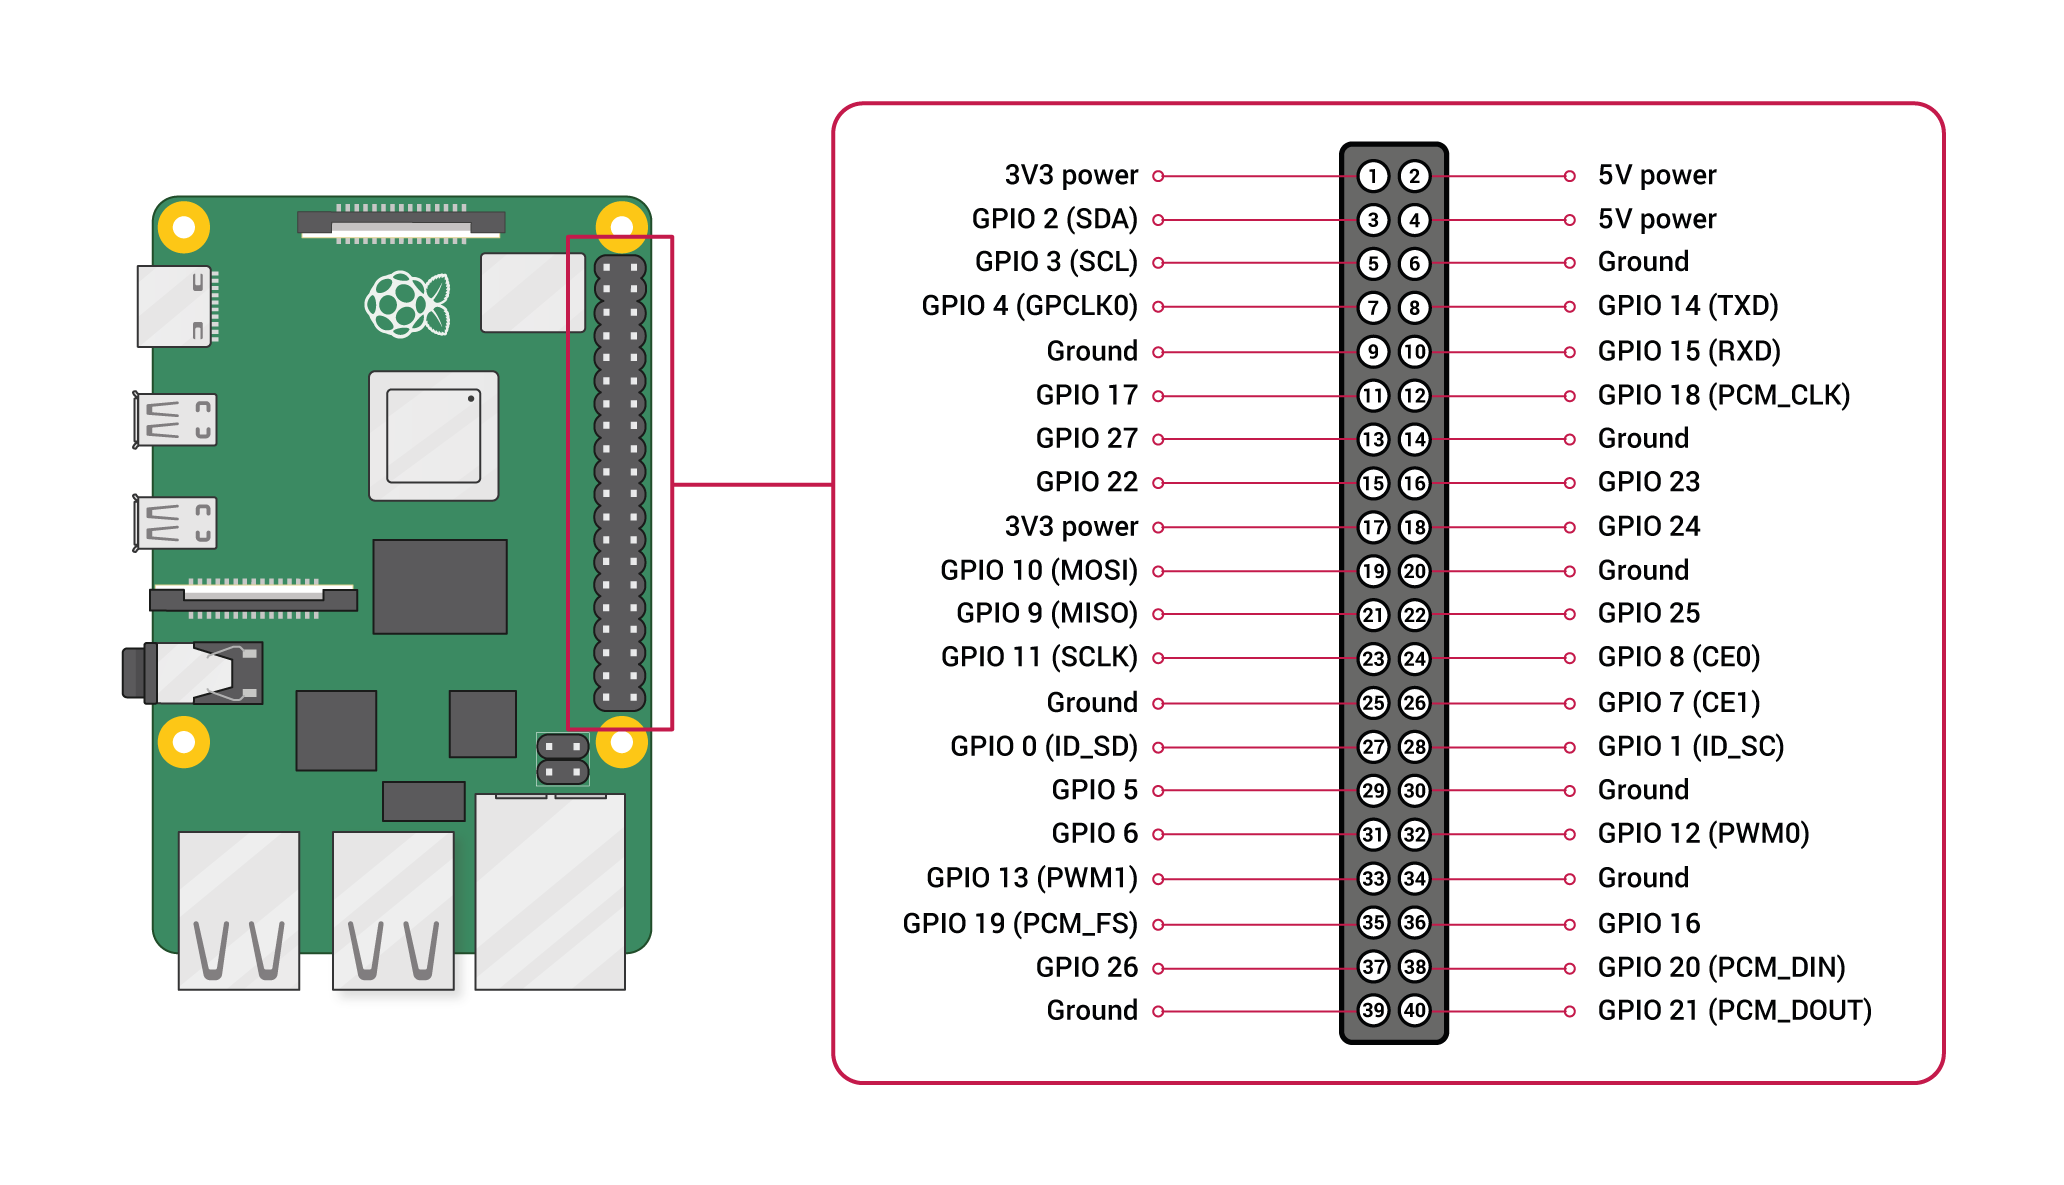
I recommend paying attention to the site https://pinout.xyz/. This site contains a convenient description of all the pins of the GPIO connector.
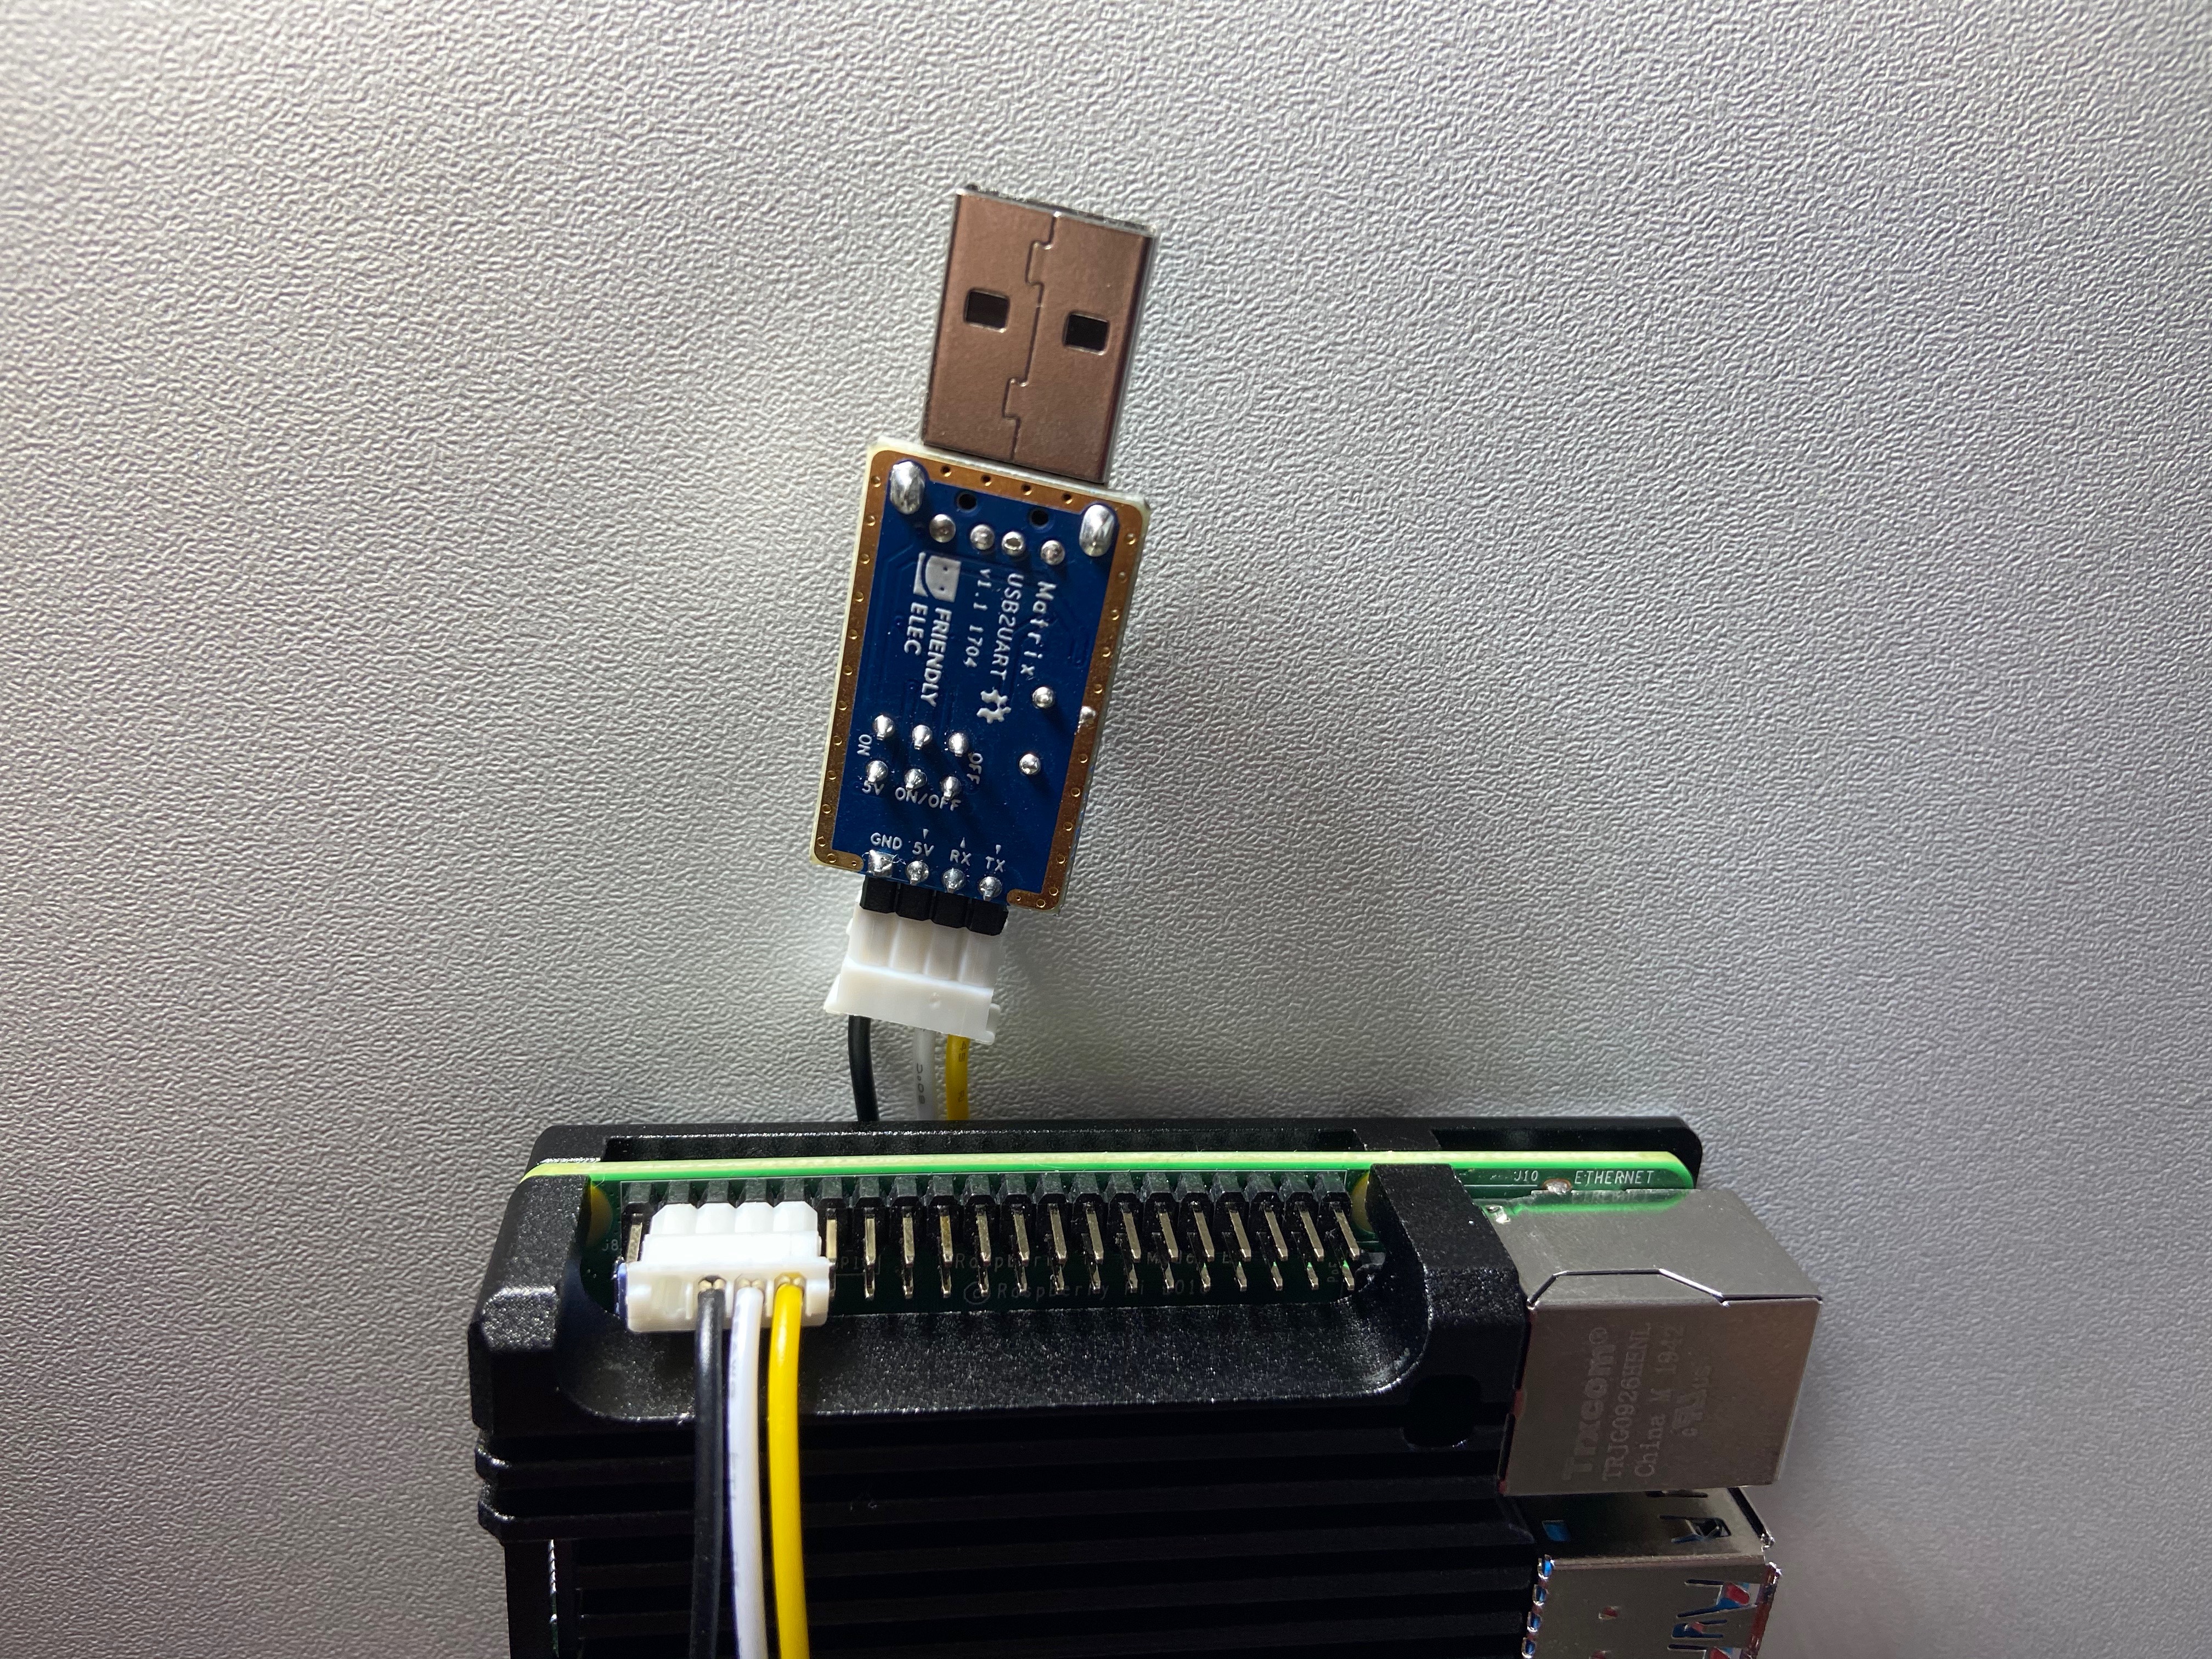
- The diagram shows that we will need to connect to pins 6 (GND), 8 (TXD) and 10 (RXD).
-
The photo shows that I took a small cable, and prepared one connector for connecting to the USB dongle USB2UART, and the second connector for connecting to Raspberry Pi. The basic idea is that pins GND (ground) must be the same for both devices (black wire), and pins TXD and RXD should be connected "crosswise". Ie the pin TXD from Raspberry Pi must be connected to RX from USB2UART (white wire) and pin RXD from Raspberry Pi must be connected to pin TX from USB2UART (yellow wire). This is necessary so that data transmit on the Raspberry Pi – receive on the USB2UART side and vice versa.
- Now connect the USB dongle to the computer, determine which port it is located on (usually
ttyUSB0), and connect to it using thepicocomprogram:
wakko@radio:~$ dmesg -T
[Wed Oct 14 17:52:56 2020] usb 1-2: new full-speed USB device number 8 using xhci_hcd
[Wed Oct 14 17:52:57 2020] usb 1-2: New USB device found, idVendor=1a86, idProduct=7523, bcdDevice= 2.63
[Wed Oct 14 17:52:57 2020] usb 1-2: New USB device strings: Mfr=0, Product=2, SerialNumber=0
[Wed Oct 14 17:52:57 2020] usb 1-2: Product: USB2.0-Serial
[Wed Oct 14 17:52:57 2020] usbcore: registered new interface driver usbserial_generic
[Wed Oct 14 17:52:57 2020] usbserial: USB Serial support registered for generic
[Wed Oct 14 17:52:57 2020] usbcore: registered new interface driver ch341
[Wed Oct 14 17:52:57 2020] usbserial: USB Serial support registered for ch341-uart
[Wed Oct 14 17:52:57 2020] ch341 1-2:1.0: ch341-uart converter detected
[Wed Oct 14 17:52:57 2020] usb 1-2: ch341-uart converter now attached to ttyUSB0

wakko@radio:~$ lsusb | grep Serial
Bus 001 Device 008: ID 1a86:7523 QinHeng Electronics HL-340 USB-Serial adapter

wakko@radio:~$ ls -alh /dev/ttyUSB*
crw-rw---- 1 root dialout 188, 0 2020-10-14 /dev/ttyUSB0

wakko@radio:~$ picocom --baud 115200 /dev/ttyUSB0
picocom v3.1

port is        : /dev/ttyUSB0
flowcontrol    : none
baudrate is    : 115200
parity is      : none
databits are   : 8
stopbits are   : 1
escape is      : C-a
local echo is  : no
noinit is      : no
noreset is     : no
hangup is      : no
nolock is      : no
send_cmd is    : sz -vv
receive_cmd is : rz -vv -E
imap is        :
omap is        :
emap is        : crcrlf,delbs,
logfile is     : none
initstring     : none
exit_after is  : not set
exit is        : no

Type [C-a] [C-h] to see available commands
Terminal ready-
Now connect the network cable and USB Type-C power cable to Raspberry Pi.
- If we didn't make changes to the file
cmdline.txtand if we didn't create a simlink to theserial-gettyservice, we would only see the following in the console:
MMC:   mmcnr@7e300000: 1, emmc2@7e340000: 0
Loading Environment from FAT... *** Warning - bad CRC, using default environment

In:    serial
Out:   serial
Err:   serial
Net:   No ethernet found.
starting USB...
No working controllers found
## Info: input data size = 6 = 0x6
Hit any key to stop autoboot:  0
switch to partitions #0, OK
mmc0 is current device
Scanning mmc 0:1...
Found U-Boot script /boot.scr
2569 bytes read in 17 ms (147.5 KiB/s)
## Executing script at 02400000
8390521 bytes read in 544 ms (14.7 MiB/s)
Total of 1 halfword(s) were the same
Decompressing kernel...
Uncompressed size: 25907712 = 0x18B5200
29530201 bytes read in 1871 ms (15.1 MiB/s)
Booting Ubuntu (with booti) from mmc 0:...
## Flattened Device Tree blob at 02600000
   Booting using the fdt blob at 0x2600000
   Using Device Tree in place at 0000000002600000, end 000000000260eb69

Starting kernel ...

[    1.378684] spi-bcm2835 fe204000.spi: could not get clk: -517
[    7.097717] brcmfmac: brcmf_fw_alloc_request: using brcm/brcmfmac43455-sdio for chip BCM4345/6
[    7.347071] brcmfmac: brcmf_fw_alloc_request: using brcm/brcmfmac43455-sdio for chip BCM4345/6
[    7.368459] brcmfmac: brcmf_c_preinit_dcmds: Firmware: BCM4345/6 wl0: Mar 23 2020 02:19:54 version 7.45.206 (r725000 CY) FWID 01-88ee44ea
[ 16.187898] brcmfmac: brcmf_cfg80211_set_power_mgmt: power save enabled- And after our changes, the output in the console should look something like this:
MMC:   mmcnr@7e300000: 1, emmc2@7e340000: 0
Loading Environment from FAT... *** Warning - bad CRC, using default environment

In:    serial
Out:   serial
Err:   serial
Net:   No ethernet found.
starting USB...
No working controllers found
## Info: input data size = 6 = 0x6
Hit any key to stop autoboot:  0
switch to partitions #0, OK
mmc0 is current device
Scanning mmc 0:1...
Found U-Boot script /boot.scr
2569 bytes read in 16 ms (156.3 KiB/s)
## Executing script at 02400000
8390521 bytes read in 544 ms (14.7 MiB/s)
Total of 1 halfword(s) were the same
Decompressing kernel...
Uncompressed size: 25907712 = 0x18B5200
29530201 bytes read in 1883 ms (15 MiB/s)
Booting Ubuntu (with booti) from mmc 0:...
## Flattened Device Tree blob at 02600000
   Booting using the fdt blob at 0x2600000
   Using Device Tree in place at 0000000002600000, end 000000000260eb49

Starting kernel ...

[    1.372766] spi-bcm2835 fe204000.spi: could not get clk: -517
ext4
Thu Jan  1 00:00:05 UTC 1970
-.mount
etc-machine\x2did.mount
dev-mqueue.mount
sys-kernel-debug.mount
sys-kernel-tracing.mount
kmod-static-nodes.service
systemd-remount-fs.service
systemd-journald.service
keyboard-setup.service
systemd-random-seed.service
systemd-modules-load.service
sys-fs-fuse-connections.mount
sys-kernel-config.mount
systemd-journal-flush.service
systemd-sysctl.service
systemd-sysusers.service
systemd-tmpfiles-setup-dev.service
systemd-udev-trigger.service
systemd-udevd.service
[    8.357099] brcmfmac: brcmf_fw_alloc_request: using brcm/brcmfmac43455-sdio for chip BCM4345/6
[    8.626219] brcmfmac: brcmf_fw_alloc_request: using brcm/brcmfmac43455-sdio for chip BCM4345/6
[    8.649101] brcmfmac: brcmf_c_preinit_dcmds: Firmware: BCM4345/6 wl0: Mar  2 2020 23:30:41 version 7.45.202 (r724630 CY) FWID 01-72f6ece2
systemd-fsckd.service
systemd-rfkill.service
systemd-fsck@dev-disk-by\x2dlabel-system\x2dboot.service
boot-firmware.mount
[  OK  ] Finished Tell Plymouth To Write Out Runtime Data.
[  OK  ] Started Network Service.
systemd-networkd.service
[  OK  ] Finished Commit a transient machine-id on disk.
systemd-machine-id-commit.service
[  OK  ] Finished Create Volatile Files and Directories.
systemd-tmpfiles-setup.service
         Starting Network Name Resolution...
         Starting Network Time Synchronization...
         Starting Update UTMP about System Boot/Shutdown...
[  OK  ] Finished Update UTMP about System Boot/Shutdown.
systemd-update-utmp.service
systemd-timesyncd.service
[  OK  ] Started Network Time Synchronization.
[  OK  ] Reached target System Time Set.
[  OK  ] Reached target System Time Synchronized.
[  OK  ] Started Network Name Resolution.
[  OK  ] Reached target Host and Network Name Lookups.
systemd-resolved.service
[  OK  ] Finished Load AppArmor profiles.
[  OK  ] Reached target System Initialization.
apparmor.service
[  OK  ] Started Trigger anacron every hour.
[  OK  ] Started Daily apt download activities.
[  OK  ] Started Daily apt upgrade and clean activities.
[  OK  ] Started Periodic ext4 Onli…ata Check for All Filesystems.
[  OK  ] Started Discard unused blocks once a week.
[  OK  ] Started Refresh fwupd metadata regularly.
[  OK  ] Started Daily rotation of log files.
[  OK  ] Started Daily man-db regeneration.
[  OK  ] Started Message of the Day.
[  OK  ] Started Daily Cleanup of Temporary Directories.
[  OK  ] Reached target Paths.
[  OK  ] Reached target Timers.
[  OK  ] Listening on Avahi mDNS/DNS-SD Stack Activation Socket.
[  OK  ] Listening on CUPS Scheduler.
[  OK  ] Listening on D-Bus System Message Bus Socket.
         Starting Socket activation for snappy daemon.
[  OK  ] Listening on UUID daemon activation socket.
[  OK  ] Listening on Socket activation for snappy daemon.
[  OK  ] Reached target Sockets.
[  OK  ] Reached target Basic System.
         Starting Save/Restore Sound Card State...
[  OK  ] Started D-Bus System Message Bus.
dbus.service
         Starting Network Manager...
         Starting Remove Stale Onli…t4 Metadata Check Snapshots...
         Starting End-user configur…er initial OEM installation...
[  OK  ] Finished Save/Restore Sound Card State.
alsa-restore.service
[  OK  ] Reached target Sound Card.
[  OK  ] Finished Remove Stale Onli…ext4 Metadata Check Snapshots.
[  OK  ] Started Network Manager.
NetworkManager.service
[  OK  ] Reached target Network.
         Starting Permit User Sessions...
[  OK  ] Finished Permit User Sessions.
systemd-user-sessions.service
[  OK  ] Started Serial Getty on ttyS0.
serial-getty@ttyS0.service
         Starting Set console scheme...
         Starting Hostname Service...
[  OK  ] Finished Set console scheme.
setvtrgb.service
[  OK  ] Started Hostname Service.
systemd-hostnamed.service
         Starting Network Manager Script Dispatcher Service...
[  OK  ] Started Network Manager Script Dispatcher Service.
NetworkManager-dispatcher.service
[   27.174511] brcmfmac: brcmf_cfg80211_set_power_mgmt: power save enabled
         Starting WPA supplicant...
wpa_supplicant.service
[  OK  ] Started WPA supplicant.

Ubuntu 20.04.1 LTS ubuntu ttyS0

ubuntu login: ext4
Thu Jan  1 00:00:05 UTC 1970
[  OK  ] Finished Tell Plymouth To Write Out Runtime Data.
[  OK  ] Started Network Service.
[  OK  ] Finished Commit a transient machine-id on disk.
[  OK  ] Finished Create Volatile Files and Directories.
         Starting Network Name Resolution...
         Starting Network Time Synchronization...
         Starting Update UTMP about System Boot/Shutdown...
[  OK  ] Finished Update UTMP about System Boot/Shutdown.
[  OK  ] Started Network Time Synchronization.
[  OK  ] Reached target System Time Set.
[  OK  ] Reached target System Time Synchronized.
[  OK  ] Started Network Name Resolution.
[  OK  ] Reached target Host and Network Name Lookups.
[  OK  ] Finished Load AppArmor profiles.
[  OK  ] Reached target System Initialization.
[  OK  ] Started Trigger anacron every hour.
[  OK  ] Started Daily apt download activities.
[  OK  ] Started Daily apt upgrade and clean activities.
[  OK  ] Started Periodic ext4 Onli…ata Check for All Filesystems.
[  OK  ] Started Discard unused blocks once a week.
[  OK  ] Started Refresh fwupd metadata regularly.
[  OK  ] Started Daily rotation of log files.
[  OK  ] Started Daily man-db regeneration.
[  OK  ] Started Message of the Day.
[  OK  ] Started Daily Cleanup of Temporary Directories.
[  OK  ] Reached target Paths.
[  OK  ] Reached target Timers.
[  OK  ] Listening on Avahi mDNS/DNS-SD Stack Activation Socket.
[  OK  ] Listening on CUPS Scheduler.
[  OK  ] Listening on D-Bus System Message Bus Socket.
         Starting Socket activation for snappy daemon.
[  OK  ] Listening on UUID daemon activation socket.
[  OK  ] Listening on Socket activation for snappy daemon.
[  OK  ] Reached target Sockets.
[  OK  ] Reached target Basic System.
         Starting Save/Restore Sound Card State...
[  OK  ] Started D-Bus System Message Bus.
         Starting Network Manager...
         Starting Remove Stale Onli…t4 Metadata Check Snapshots...
         Starting End-user configur…er initial OEM installation...
[  OK  ] Finished Save/Restore Sound Card State.
[  OK  ] Reached target Sound Card.
[  OK  ] Finished Remove Stale Onli…ext4 Metadata Check Snapshots.
[  OK  ] Started Network Manager.
[  OK  ] Reached target Network.
         Starting Permit User Sessions...
[  OK  ] Finished Permit User Sessions.
[  OK  ] Started Serial Getty on ttyS0.
         Starting Set console scheme...
         Starting Hostname Service...
[  OK  ] Finished Set console scheme.
[  OK  ] Started Hostname Service.
         Starting Network Manager Script Dispatcher Service...
[  OK  ] Started Network Manager Script Dispatcher Service.
         Starting WPA supplicant...
[  OK  ] Started WPA supplicant.

ubuntu login:
That is, first of all, the operating system loading process is displayed, and secondly, a login prompt appears. If you plan to use this console for work in the future, please pay attention to this note (section The enhancement of the console).
First login to the system
For the first login, use the service account oem, which also has the default password oem:
ubuntu login: oem
Password: oem

Welcome to Ubuntu 20.04.1 LTS (GNU/Linux 5.4.0-1015-raspi aarch64)

 * Documentation:  https://help.ubuntu.com
 * Management:     https://landscape.canonical.com
 * Support:        https://ubuntu.com/advantage

0 updates can be installed immediately.
0 of these updates are security updates.

The programs included with the Ubuntu system are free software;
the exact distribution terms for each program are described in the
individual files in /usr/share/doc/*/copyright.

Ubuntu comes with ABSOLUTELY NO WARRANTY, to the extent permitted by
applicable law.

To run a command as administrator (user "root"), use "sudo <command>".
See "man sudo_root" for details.- Check that Raspberry Pi received an IP address from the DHCP server, and that there is Internet access:
oem@ubuntu:~$ ip a
1: lo: <LOOPBACK,UP,LOWER_UP> mtu 65536 qdisc noqueue state UNKNOWN group default qlen 1000
    link/loopback 00:00:00:00:00:00 brd 00:00:00:00:00:00
    inet 127.0.0.1/8 scope host lo
       valid_lft forever preferred_lft forever
    inet6 ::1/128 scope host
       valid_lft forever preferred_lft forever
2: eth0: <BROADCAST,MULTICAST,UP,LOWER_UP> mtu 1500 qdisc mq state UP group default qlen 1000
    link/ether dc:a6:32:6d:e3:b3 brd ff:ff:ff:ff:ff:ff
    inet 192.168.255.16/24 brd 192.168.255.255 scope global dynamic noprefixroute eth0
       valid_lft 86148sec preferred_lft 86148sec
    inet6 fe80::5f46:5802:de04:6a9d/64 scope link noprefixroute
       valid_lft forever preferred_lft forever
3: wlan0: <NO-CARRIER,BROADCAST,MULTICAST,UP> mtu 1500 qdisc fq_codel state DOWN group default qlen 1000
    link/ether dc:a6:32:6d:e3:b4 brd ff:ff:ff:ff:ff:ff

oem@ubuntu:~$ ping ya.ru -c 4
PING ya.ru (87.250.250.242) 56(84) bytes of data.
64 bytes from ya.ru (87.250.250.242): icmp_seq=1 ttl=55 time=15.5 ms
64 bytes from ya.ru (87.250.250.242): icmp_seq=2 ttl=55 time=15.8 ms
64 bytes from ya.ru (87.250.250.242): icmp_seq=3 ttl=55 time=15.4 ms
64 bytes from ya.ru (87.250.250.242): icmp_seq=4 ttl=55 time=15.4 ms

--- ya.ru ping statistics ---
4 packets transmitted, 4 received, 0% packet loss, time 3005ms
rtt min/avg/max/mdev = 15.355/15.514/15.764/0.154 ms- Next, we need to install an SSH server. If you try to install it immediately after downloading Raspberry Pi, we will get an error:
oem@ubuntu:~$ sudo apt install openssh-server
[sudo] password for oem:
Waiting for cache lock: Could not get lock /var/lib/dpkg/lock-frontend. It is held by process 1581 (unattendedWaiting for cache lock: Could not get lock /var/lib/dpkg/lock-frontend. It is held by process 1581 (unattended-upgr)- We are told that the automatic update mechanism is currently running, so manual installation of programs is not available. To find out when automatic updates will be completed, we will start viewing the corresponding logs:
oem@ubuntu:~$ tail -f /var/log/unattended-upgrades/unattended-upgrades.log
2020-10-15 11:16:49,298 INFO Starting unattended upgrades script
2020-10-15 11:16:49,300 INFO Allowed origins are: o=Ubuntu,a=focal, o=Ubuntu,a=focal-security, o=UbuntuESMApps,a=focal-apps-security, o=UbuntuESM,a=focal-infra-security
2020-10-15 11:16:49,301 INFO Initial blacklist:
2020-10-15 11:16:49,301 INFO Initial whitelist (not strict):
2020-10-15 11:19:22,970 INFO Starting unattended upgrades script
2020-10-15 11:19:22,972 INFO Allowed origins are: o=Ubuntu,a=focal, o=Ubuntu,a=focal-security, o=UbuntuESMApps,a=focal-apps-security, o=UbuntuESM,a=focal-infra-security
2020-10-15 11:19:22,973 INFO Initial blacklist:
2020-10-15 11:19:22,974 INFO Initial whitelist (not strict):
2020-10-15 11:21:44,831 INFO Packages that will be upgraded: aptdaemon aptdaemon-data bind9-dnsutils bind9-host bind9-libs busybox-initramfs busybox-static cpp-9 cryptsetup cryptsetup-bin cryptsetup-initramfs cryptsetup-run firefox g++-9 gcc-10-base gcc-9 gcc-9-base ghostscript ghostscript-x gir1.2-packagekitglib-1.0 libasan5 libatomic1 libbrotli1 libcc1-0 libcryptsetup12 libcurl3-gnutls libcurl4 libgcc-9-dev libgcc-s1 libgnutls30 libgomp1 libgs9 libgs9-common libgssdp-1.2-0 libgupnp-1.2-0 libitm1 libldb2 liblsan0 libnss3 libpackagekit-glib2-18 libproxy1-plugin-gsettings libproxy1-plugin-networkmanager libproxy1v5 libpython3.8 libpython3.8-minimal libpython3.8-stdlib libsane libsane-common libsmbclient libsnmp-base libsnmp35 libstdc++-9-dev libstdc++6 libtsan0 libubsan1 libuv1 libwbclient0 libx11-6 libx11-data libx11-xcb1 linux-headers-raspi linux-image-raspi linux-libc-dev linux-raspi packagekit packagekit-tools python3-aptdaemon python3-aptdaemon.gtk3widgets python3-distutils python3-gdbm python3-ldb python3-lib2to3 python3-samba python3-software-properties python3-urllib3 python3.8 python3.8-minimal samba-common samba-common-bin samba-dsdb-modules samba-libs sane-utils smbclient software-properties-common software-properties-gtk xserver-common xserver-xorg-core xserver-xorg-legacy
2020-10-15 11:21:44,832 INFO Writing dpkg log to /var/log/unattended-upgrades/unattended-upgrades-dpkg.log- The last line says that the package update (dpkg) is now running, so press Ctrl+C and start viewing another log file:
oem@ubuntu:~$ tail -f /var/log/unattended-upgrades/unattended-upgrades-dpkg.log
...
Log started: 2020-10-15  11:48:26
(Reading database ... 240077 files and directories currently installed.)
Preparing to unpack .../libpackagekit-glib2-18_1.1.13-2ubuntu1.1_arm64.deb ...
Unpacking libpackagekit-glib2-18:arm64 (1.1.13-2ubuntu1.1) over (1.1.13-2ubuntu1) ...
Setting up libpackagekit-glib2-18:arm64 (1.1.13-2ubuntu1.1) ...
Processing triggers for libc-bin (2.31-0ubuntu9) ...
Log ended: 2020-10-15 11:48:53- After some time (in my case it took about half an hour) – adding new entries to the log file will stop and we will be able to continue working. Press Ctrl+C, update the system and install the SSH server:
oem@ubuntu:~$ sudo apt update
oem@ubuntu:~$ sudo apt upgrade
oem@ubuntu:~$ sudo apt install openssh-server -y- Now let's try connecting to our Raspberry Pi via ssh:
wakko@Wakko-iMBP:~$ ssh oem@rpi.acmelabs.spb.ru
oem@rpi.acmelabs.spb.ru's password:
Welcome to Ubuntu 20.04.1 LTS (GNU/Linux 5.4.0-1015-raspi aarch64)

 * Documentation:  https://help.ubuntu.com
 * Management:     https://landscape.canonical.com
 * Support:        https://ubuntu.com/advantage

0 updates can be installed immediately.
0 of these updates are security updates.

*** System restart required ***
Last login: Wed Apr 1 18:24:24 2020- SSH server is working, now install and run the RDP server to connect to Raspberry Pi in graphical mode:
oem@ubuntu:~$ sudo apt install xrdp
oem@ubuntu:~$ sudo adduser xrdp ssl-cert
oem@ubuntu:~$ sudoedit /etc/xrdp/sesman.ini
[Security]
AllowRootLogin=false
oem@ubuntu:~$ sudoedit /etc/xrdp/xrdp_keyboard.ini
[default_rdp_layouts]
rdp_layout_us=0x00000409
rdp_layout_ru=0x00000419

[layouts_map_ru]
rdp_layout_us=ru,us
rdp_layout_ru=ru,us

[rdp_keyboard_ru]
keyboard_type=4
keyboard_type=7
keyboard_subtype=1
options=grp:alt_shift_toggle
rdp_layouts=default_rdp_layouts
layouts_map=layouts_map_ru
oem@ubuntu:~$ sudo systemctl restart xrdp.service xrdp-sesman.service- After starting the RDP server, connect to it using the username and password oem. On the desktop, right-click and click on Open Terminal option. Next, run the following commands in the terminal:
oem@ubuntu:~$ xhost +
access control disabled, clients can connect from any host
oem@ubuntu:~$ sudo oem-config
The
xhost +command must be executed beforesudo oem-config, otherwise theoem-configprogram will not have enough rights to display itself under theoemaccount.
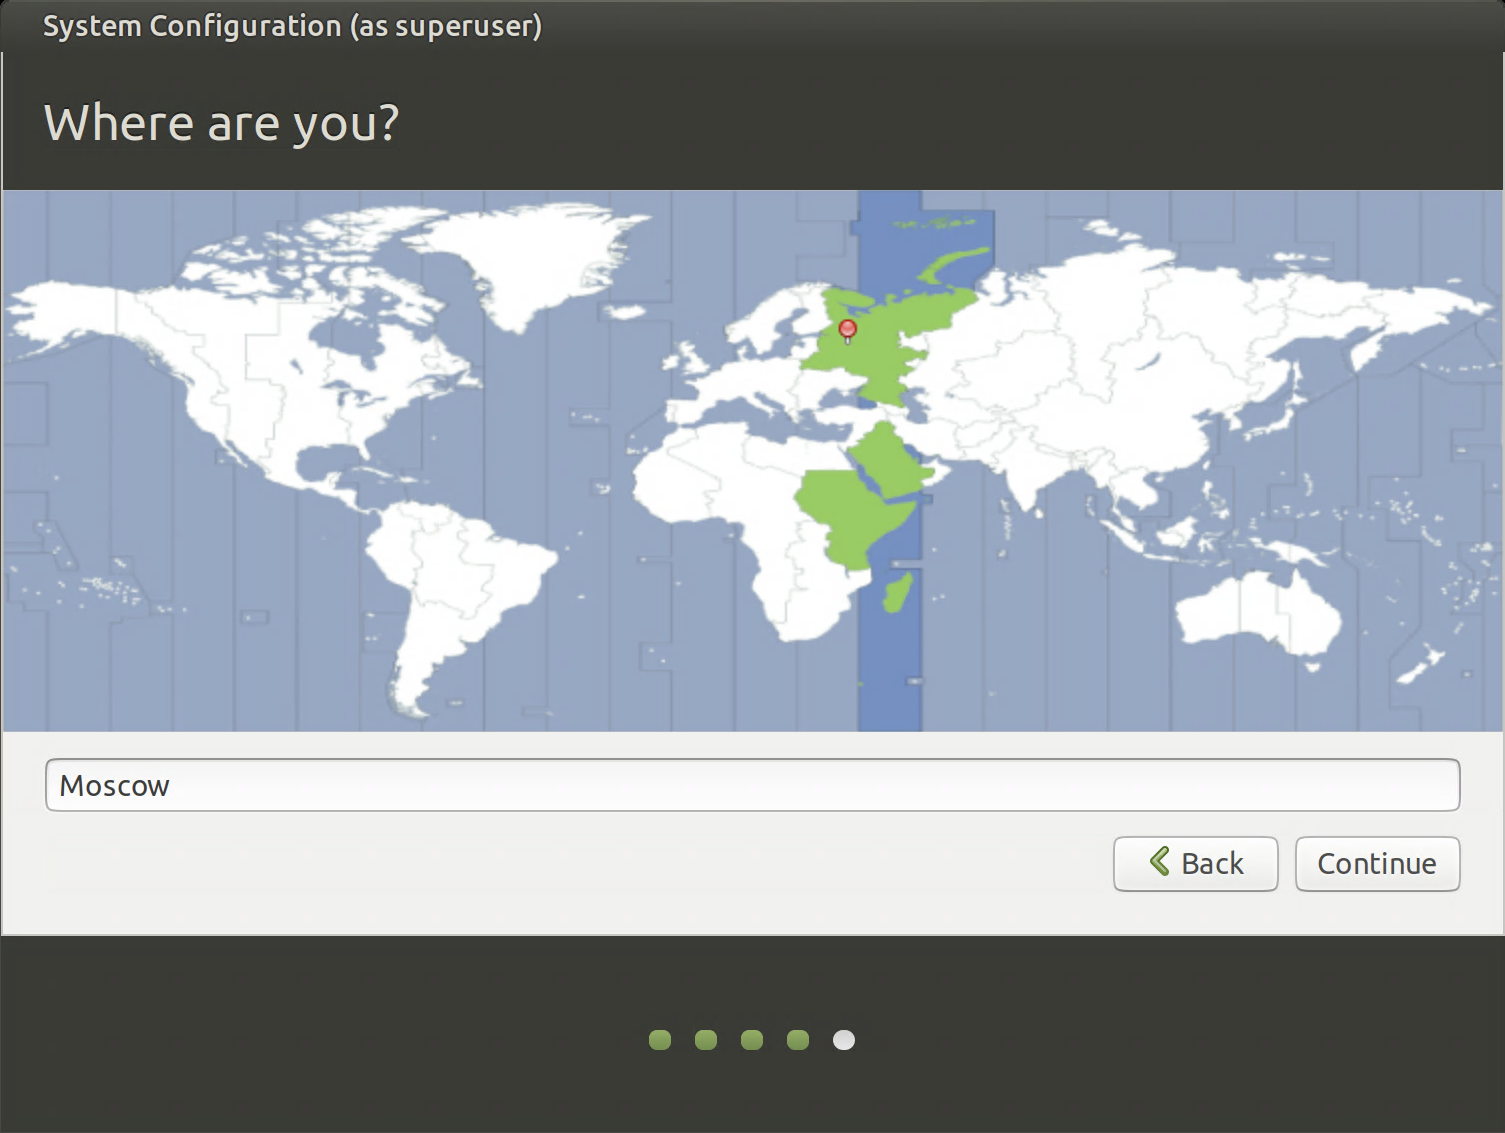
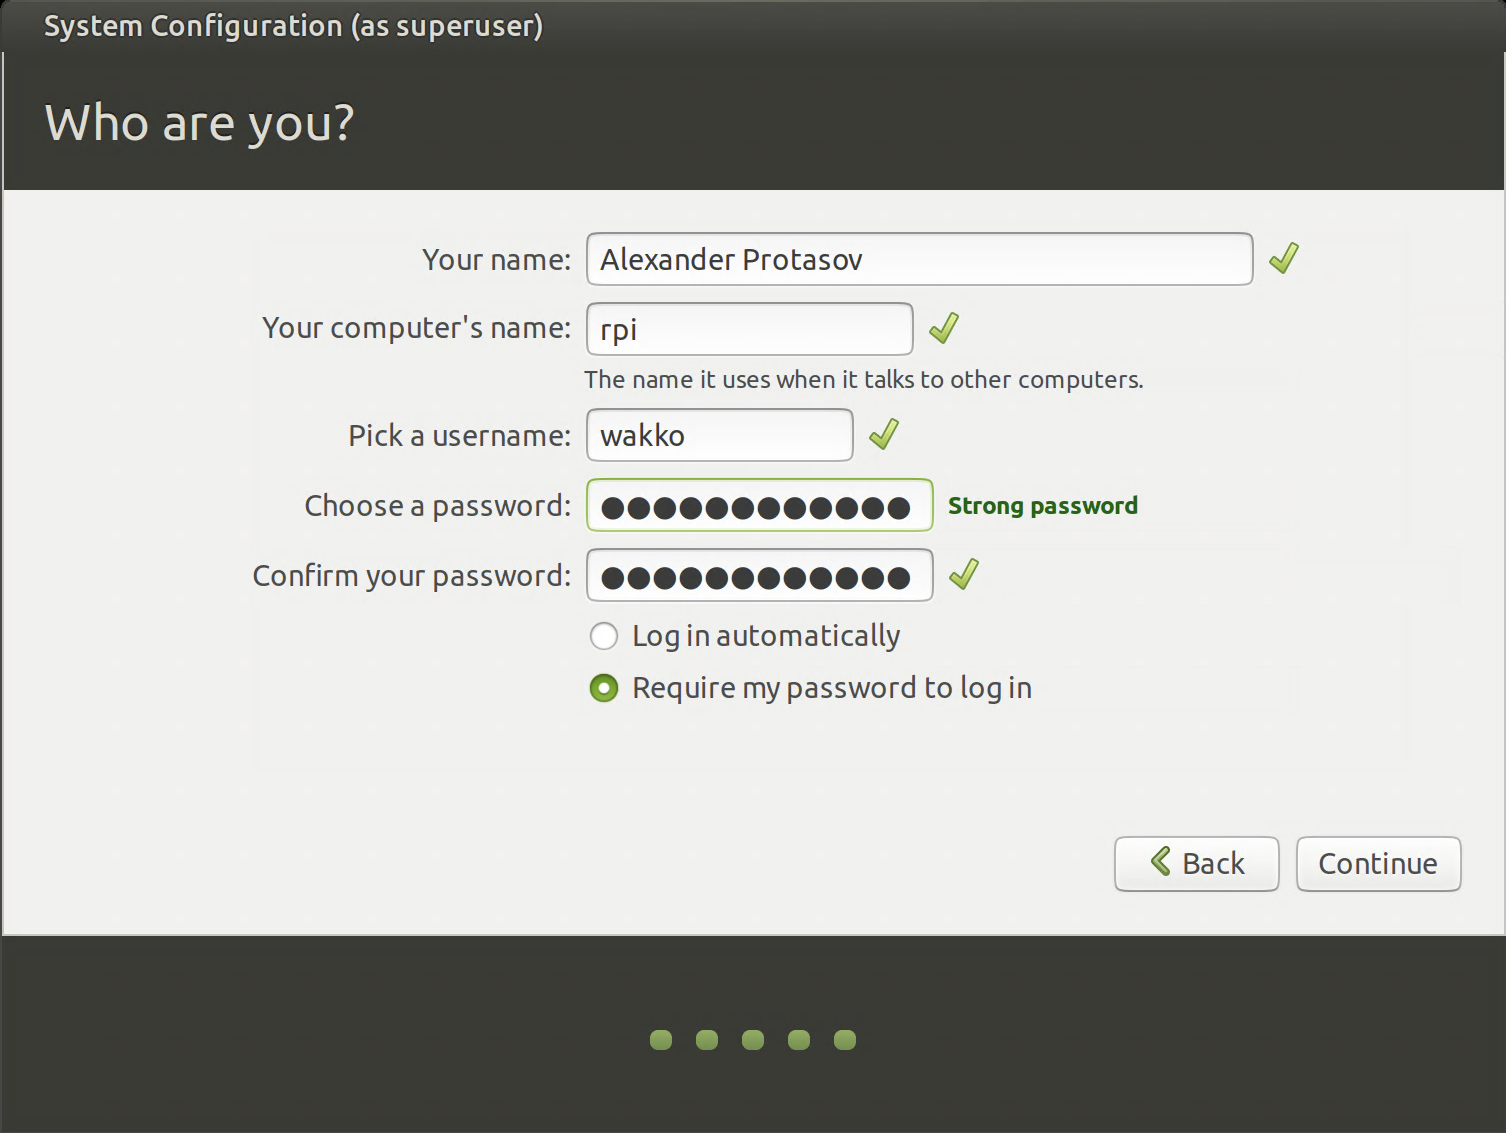
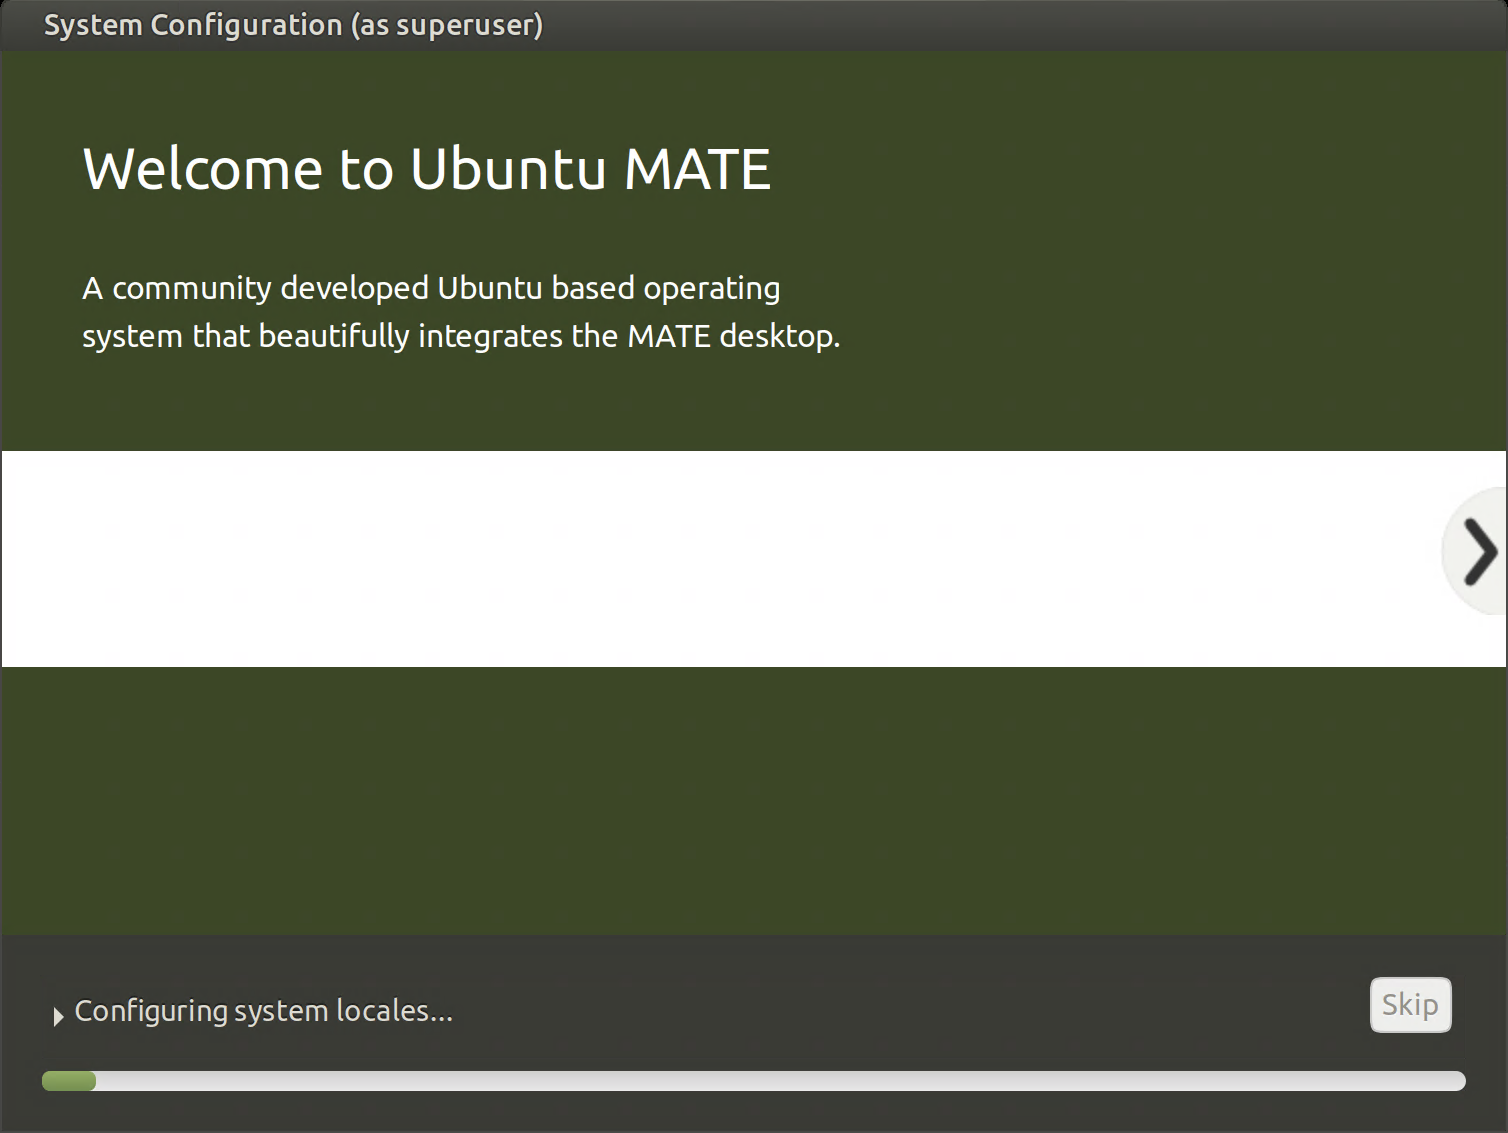
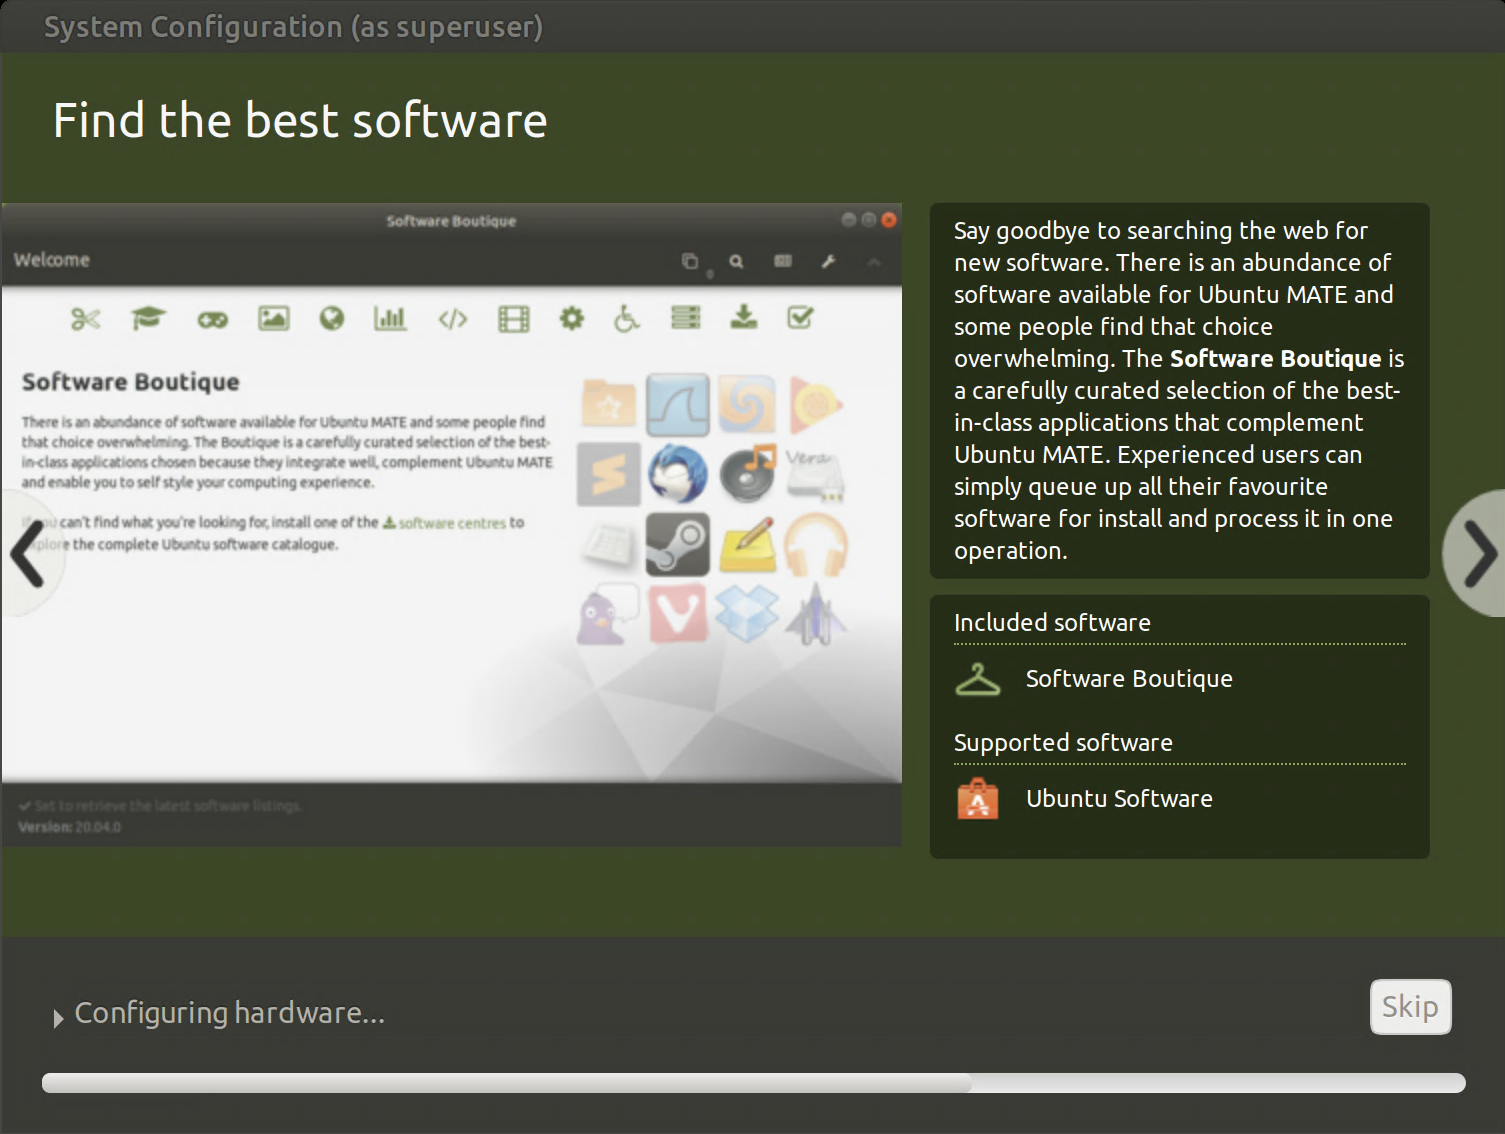
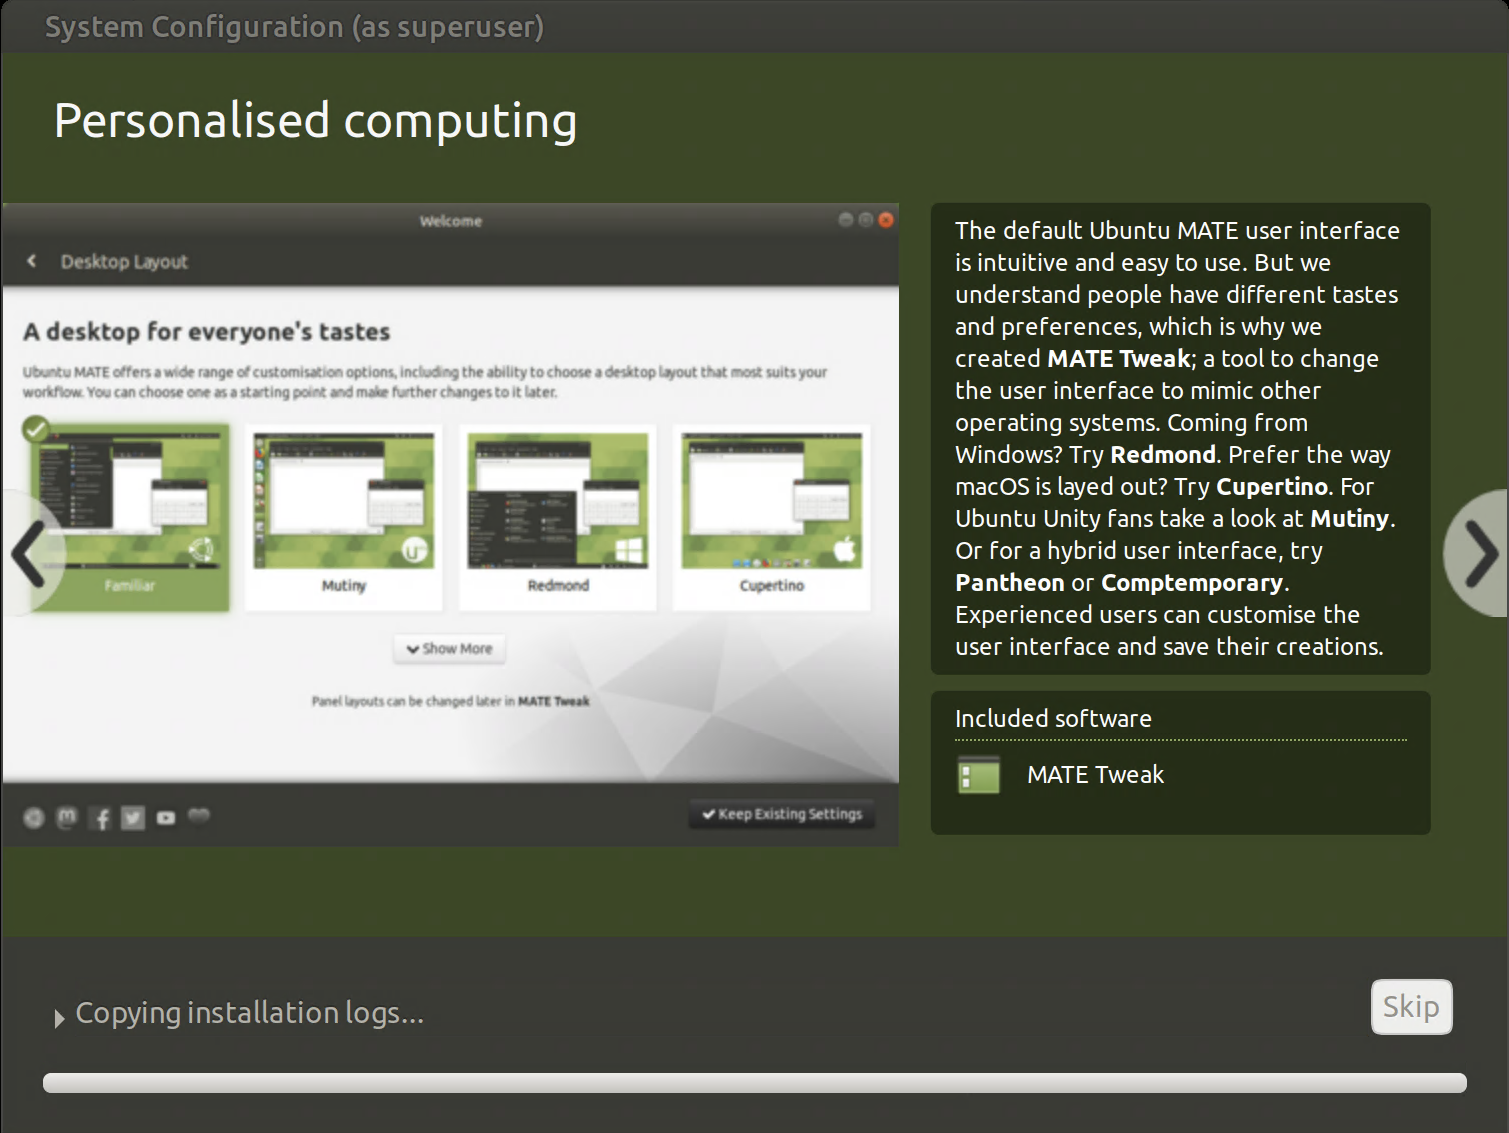
- This will start the graphical installation process for Ubuntu Mate. You will need to select the language, time zone, specify the name of the computer and create a user account:


- After completing the
oem-configprogram, you need to restore normal boot Ubuntu Mate (currently thedefault.targetsymlink points tooem-config.target):
oem@ubuntu:~$ sudo rm -f /etc/systemd/system/default.target
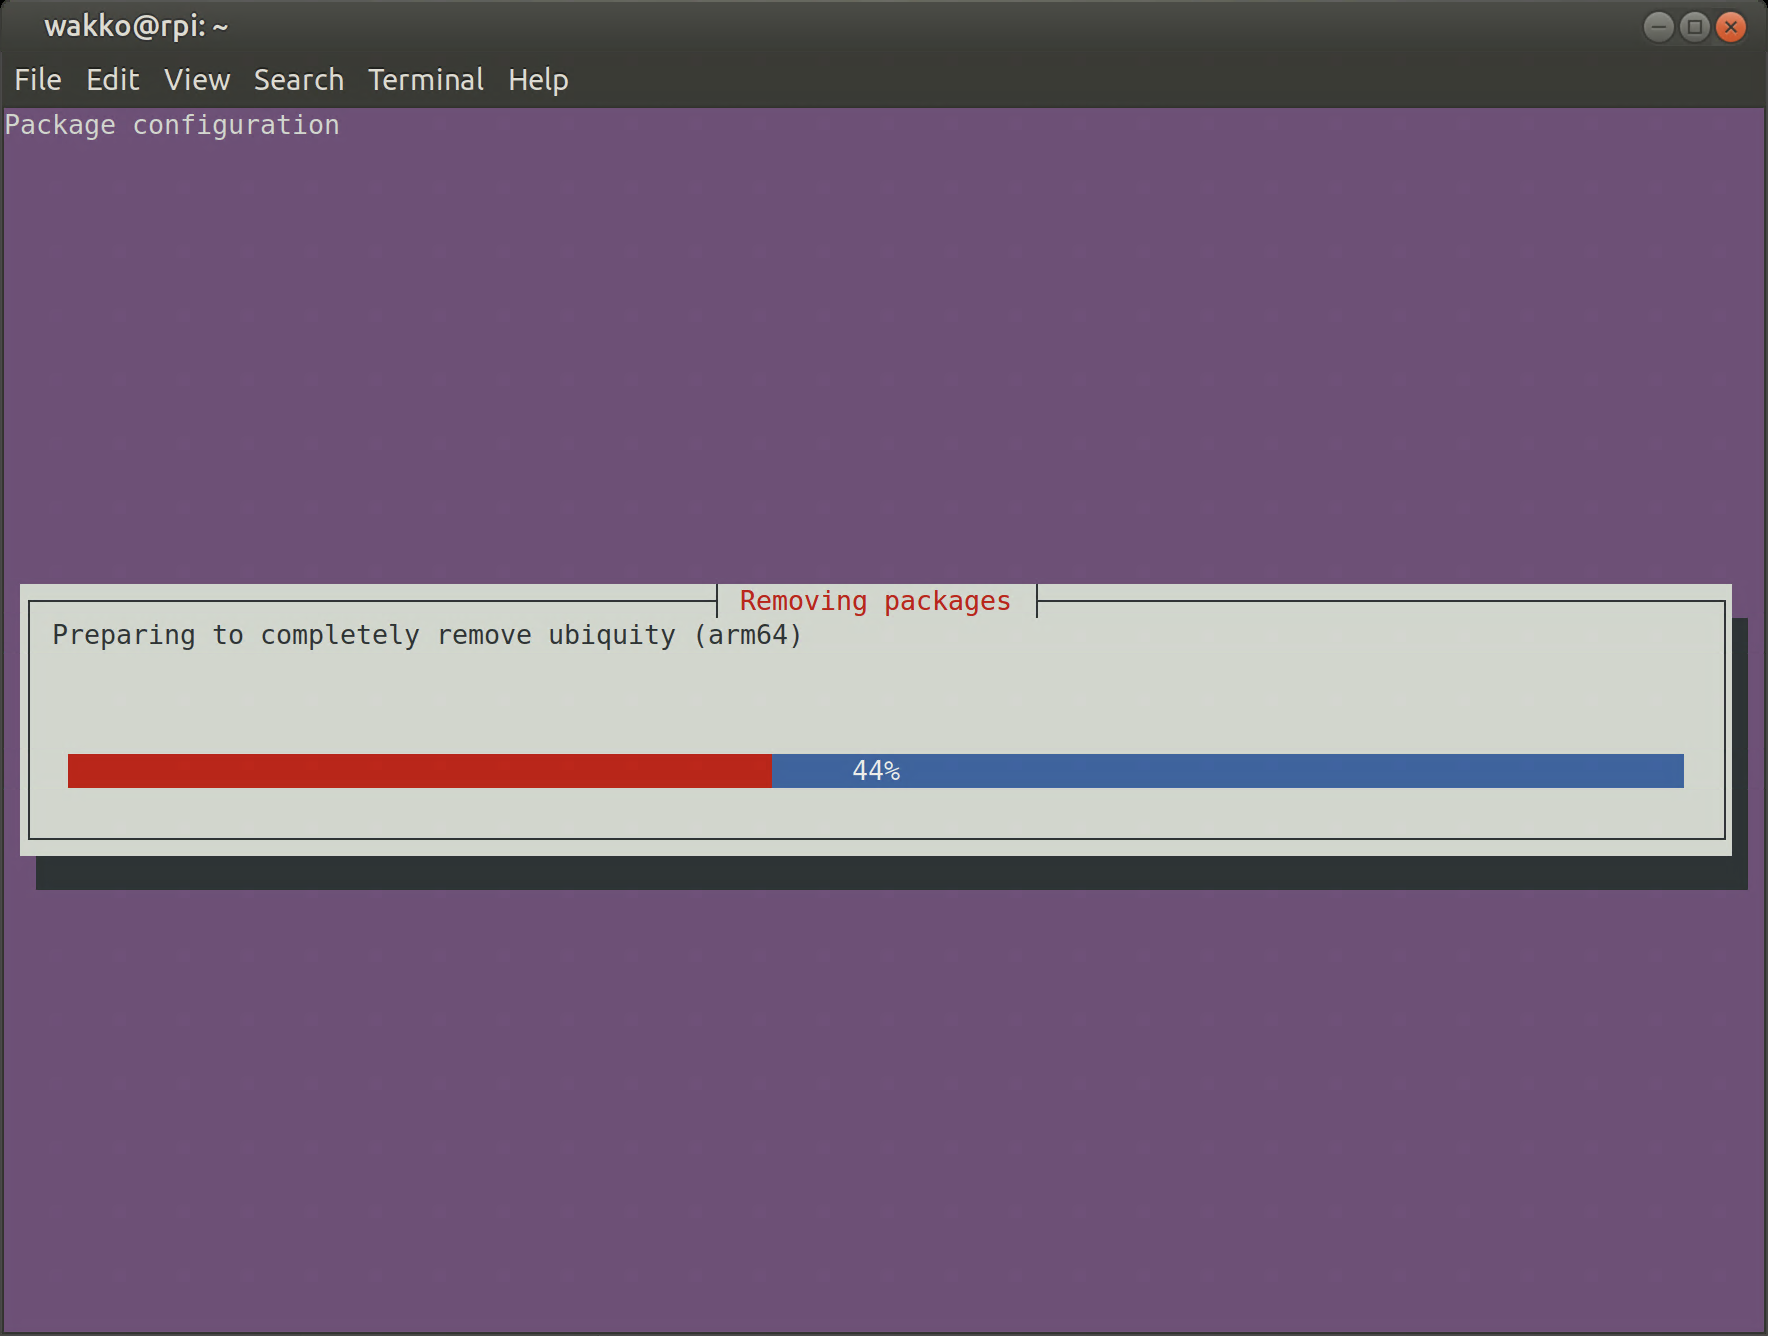
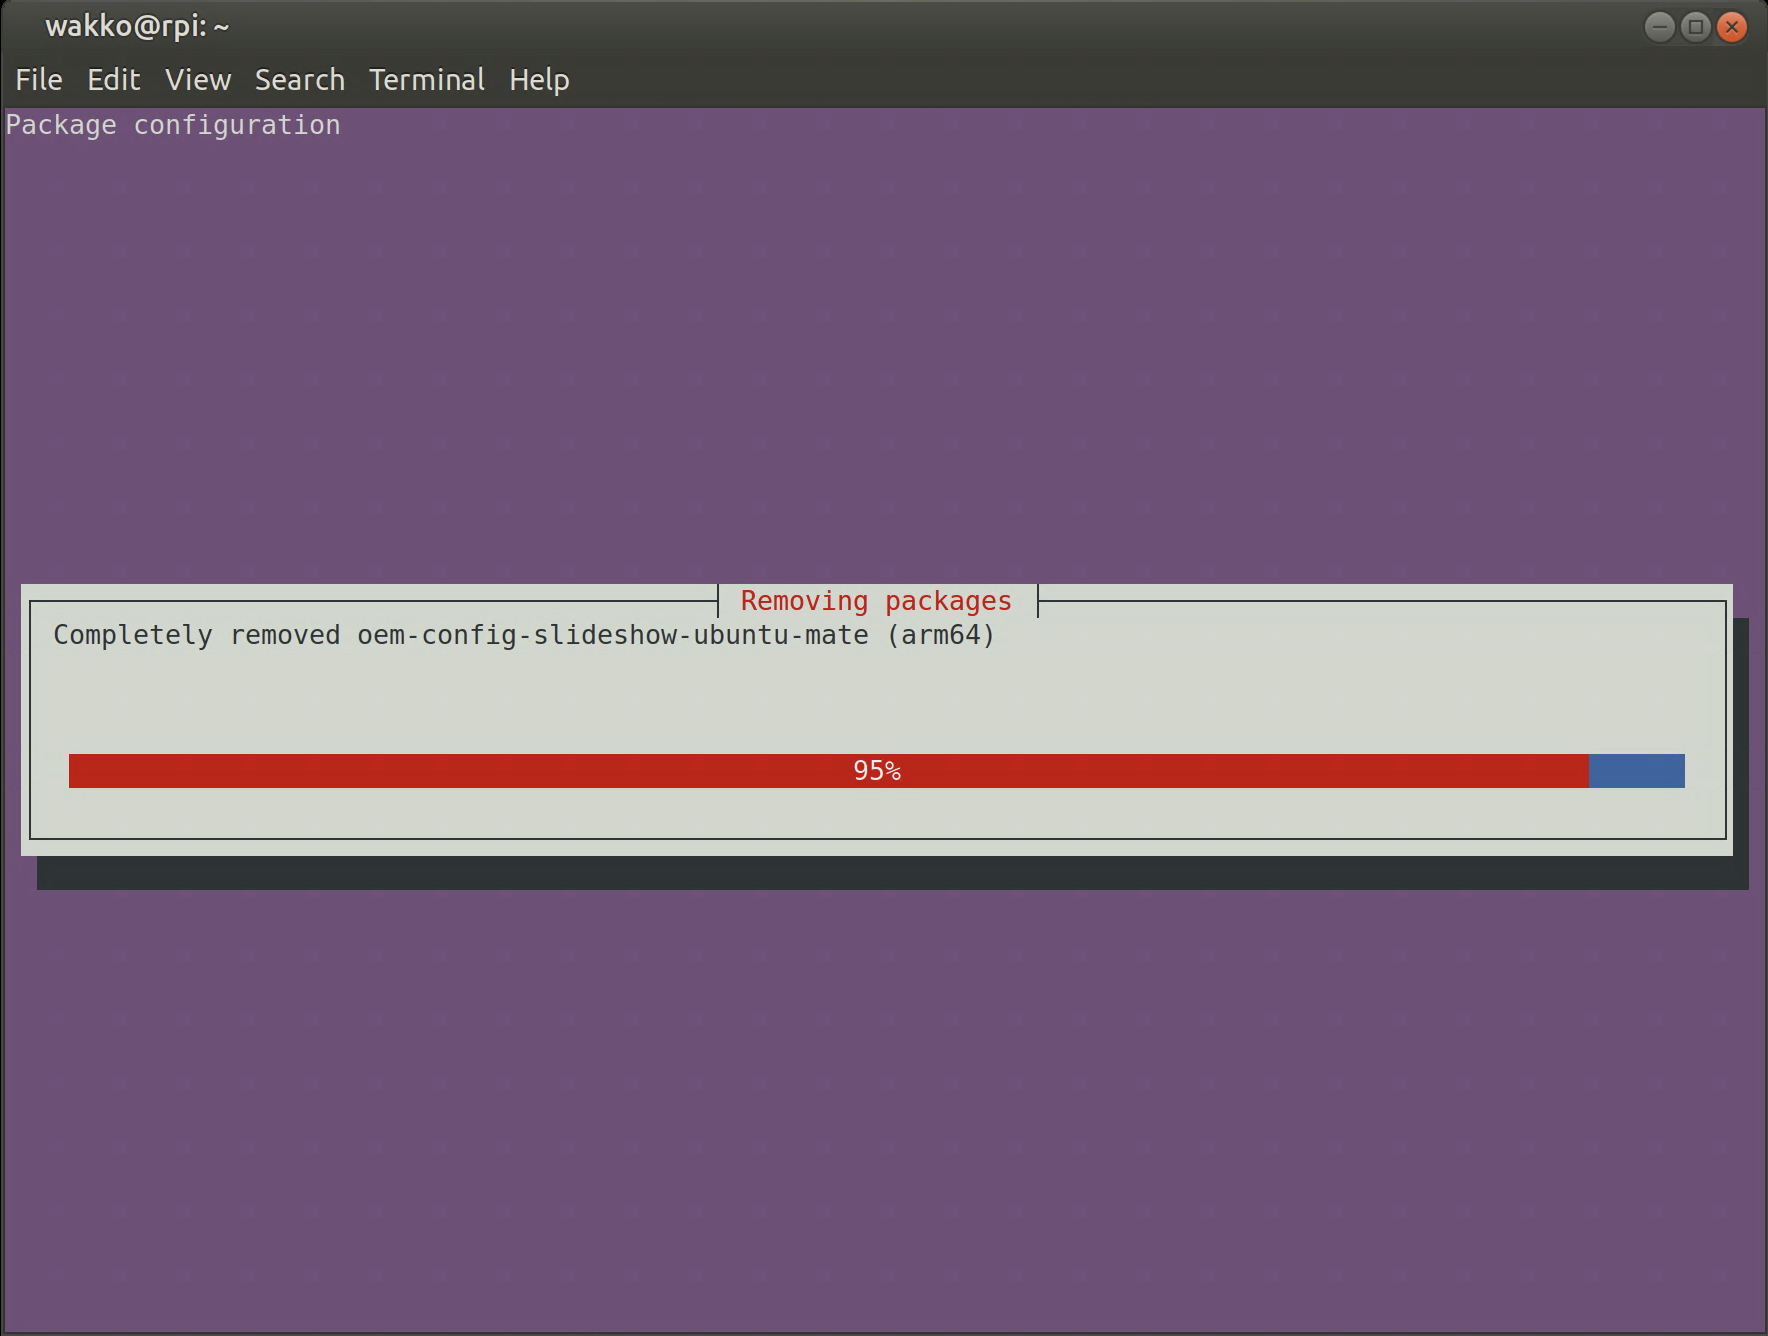
oem@ubuntu:~$ sudo rebootRemoving the program oem-config:
- After restarting, log in under the user account that you created in the previous step and run the following command:
wakko@rpi:~$ sudo oem-config-remove
Deleting a service account oem:
wakko@rpi:~$ sudo deluser oem
Removing user `oem` ...
Warning: group `oem` has no more members.
Done.
wakko@rpi:~$ sudo rm -rf /home/oem/
Installing additional utilities and configuring the working environment in bash:
wakko@rpi:~$ sudo apt install mc bash-completion curl htop pinfo screen usbutilsNext, you can configure the working environment in bash by this note. And the graphical part of Ubuntu Mate can be configured by this note (read from section Setup after installation).